Getting sexy diy boudoir photos with your phone is entirely possible, especially in the hands of someone who knows what they’re doing. That’s why I wanted to share my knowledge as a boudoir photographer. By sharing some quick tips, this post will show you how to do boudoir photos at home with little more than your phone and some natural light.
Capturing sexy selfies is easy if you do the following:
- Get a manual camera app for your phone
- Set up your phone using a tripod and trigger
- Find a good window
- Make the light cross your body
- Nail your composition
- Dial in your camera settings
- Capture sexy expressions
- Edit your photos
This post may contain affiliate links, meaning I get a commission if you decide to make a purchase through my links at no cost to you. Please read my disclosure for more info.
1. Get a Manual Camera App For DIY Boudoir Photos Using Your Phone
The very first thing you need to do is go and find a manual camera app you’ll use to take your photos. Android users will have this capability in the native camera app but I recommend iphone users find a 3rd party solution.
The reason for this is because iPhone’s native camera app doesn’t offer a good controls over the exposure. It will drive you nuts as it “helps” you by changing the exposure as you move around in the frame. Instead of fighting your phone, choose one of these manual camera apps instead.
2. Get A Tripod And Trigger When Creating DIY Boudoir Photos Using Your Phone
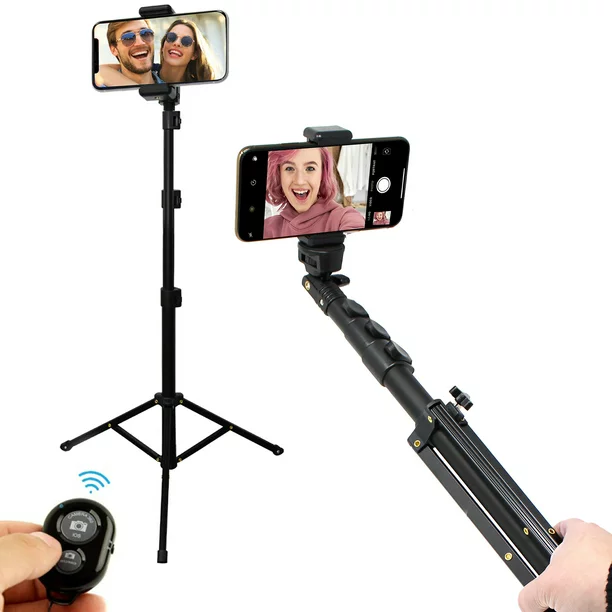
Although it’s possible to get good diy boudoir photos by just holding your phone, you’ll ultimately find this method limiting. Although you’ll be able to get a few decent looks by hand holding your phone, a tripod and trigger will allow you to capture much more and diverse perspectives.
These additional perspectives will allow you the freedom to set up your phone in different positions and help you take pictures at more than arms reach. The tripod above also comes with a trigger which makes it an attractive all in one kit for taking diy boudoir photos using your phone.
3. Use Window Light for DIY Boudoir Photos

Once you have your manual camera app, tripod and trigger, you now have all the tools you’ll need to capture seductive self portraits on your own! That said, gear doesn’t make a good boudoir photo, good decisions do.
You can check out this post I created about what makes a good boudoir photo if you’d like to learn more. It should go without saying that lighting is one of the key pillars of all great boudoir photos.
One of the best light sources most people have in their homes is window light. For soft light that is flattering and forgiving to work with, you’ll want to do your boudoir photos next to a window without direct sunlight shining though it.
4. Pose Yourself Into Cross Light For Flattering Shadows

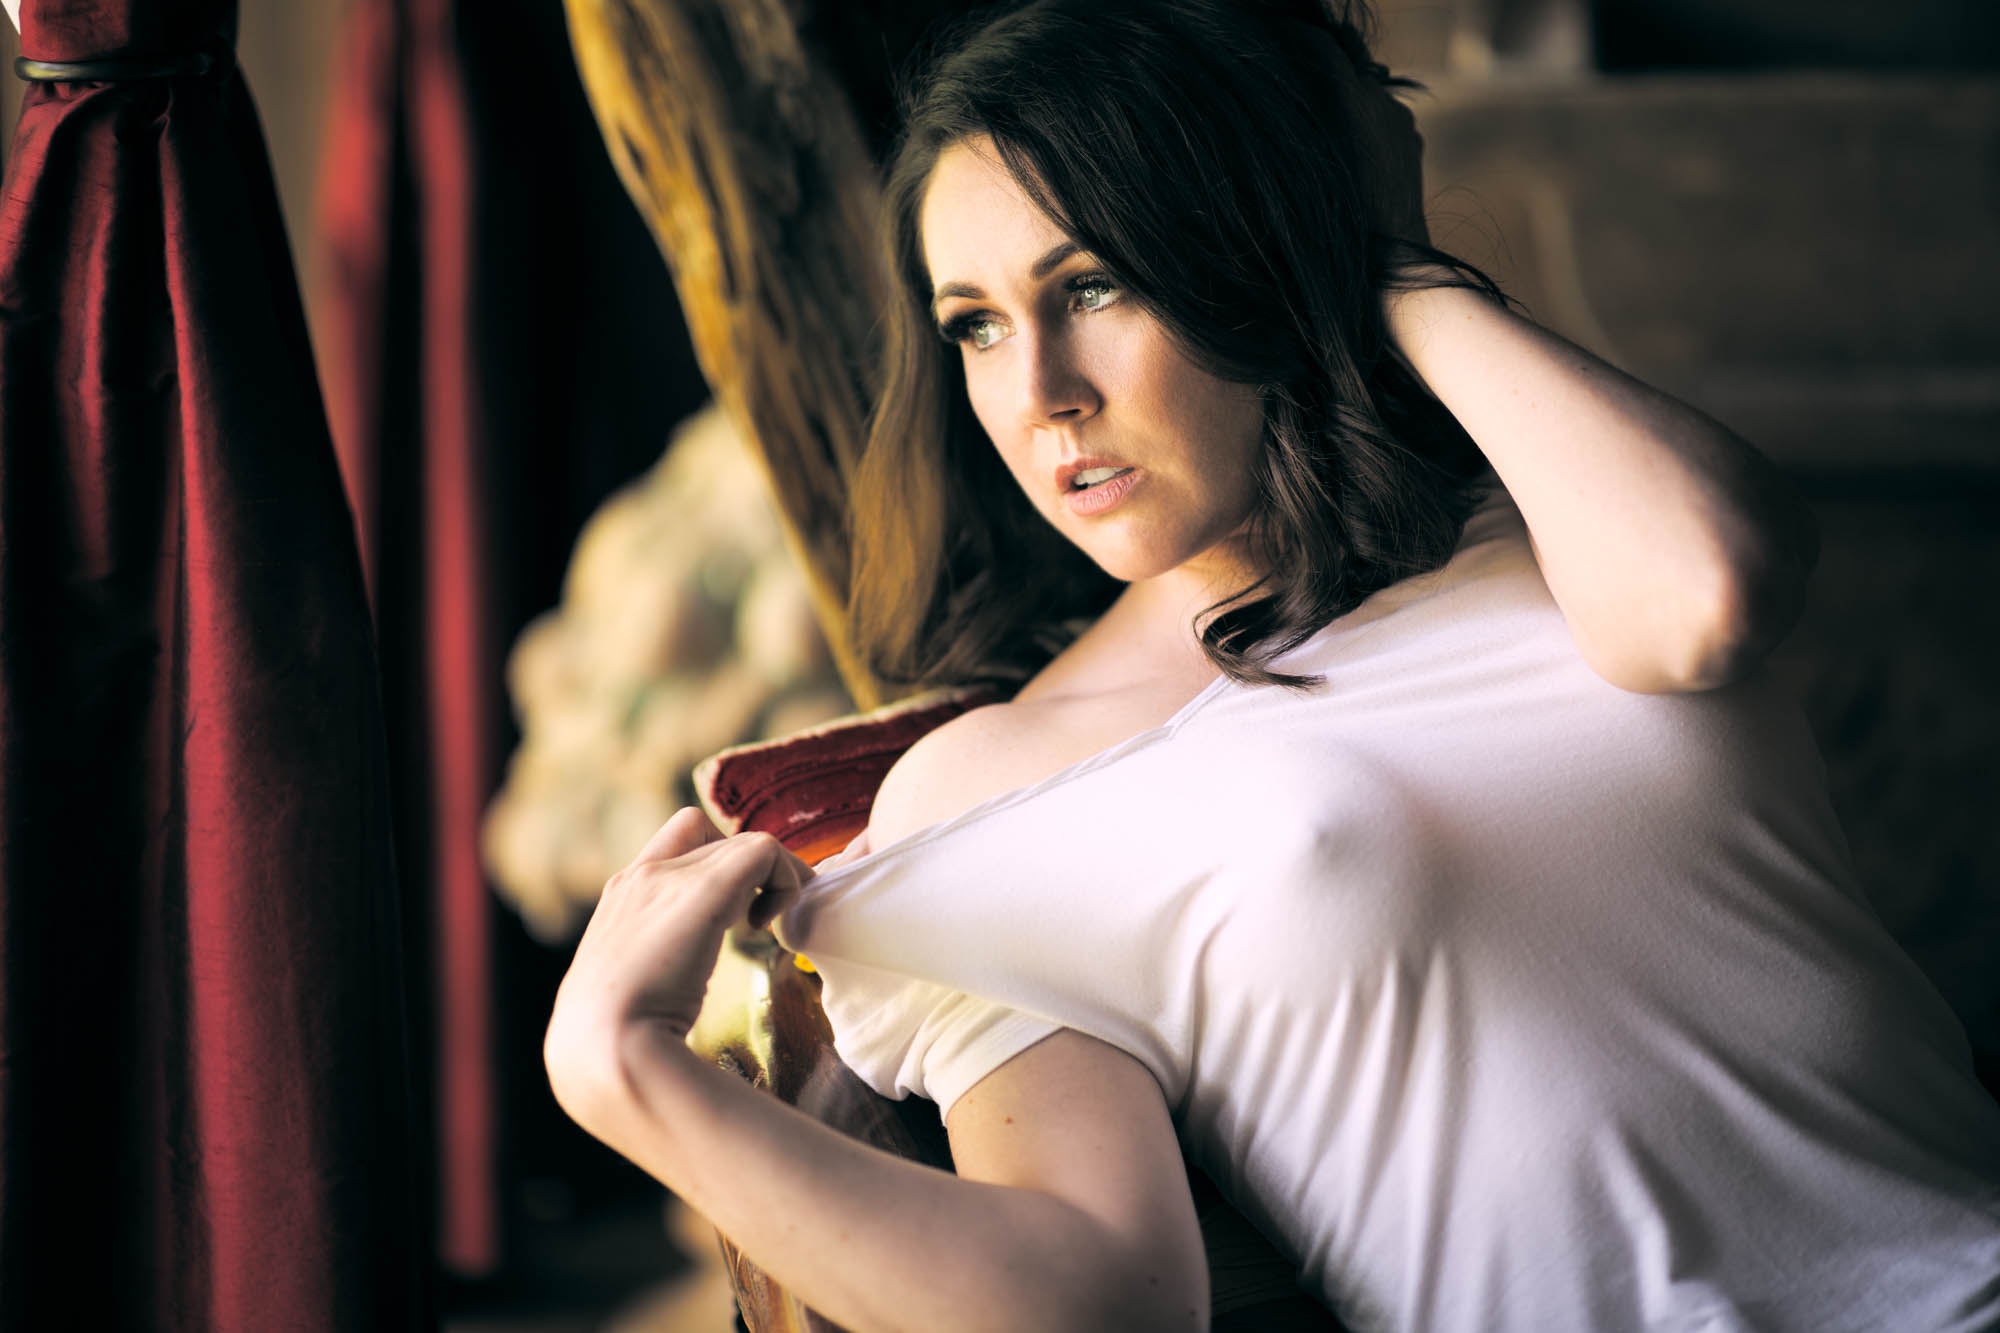
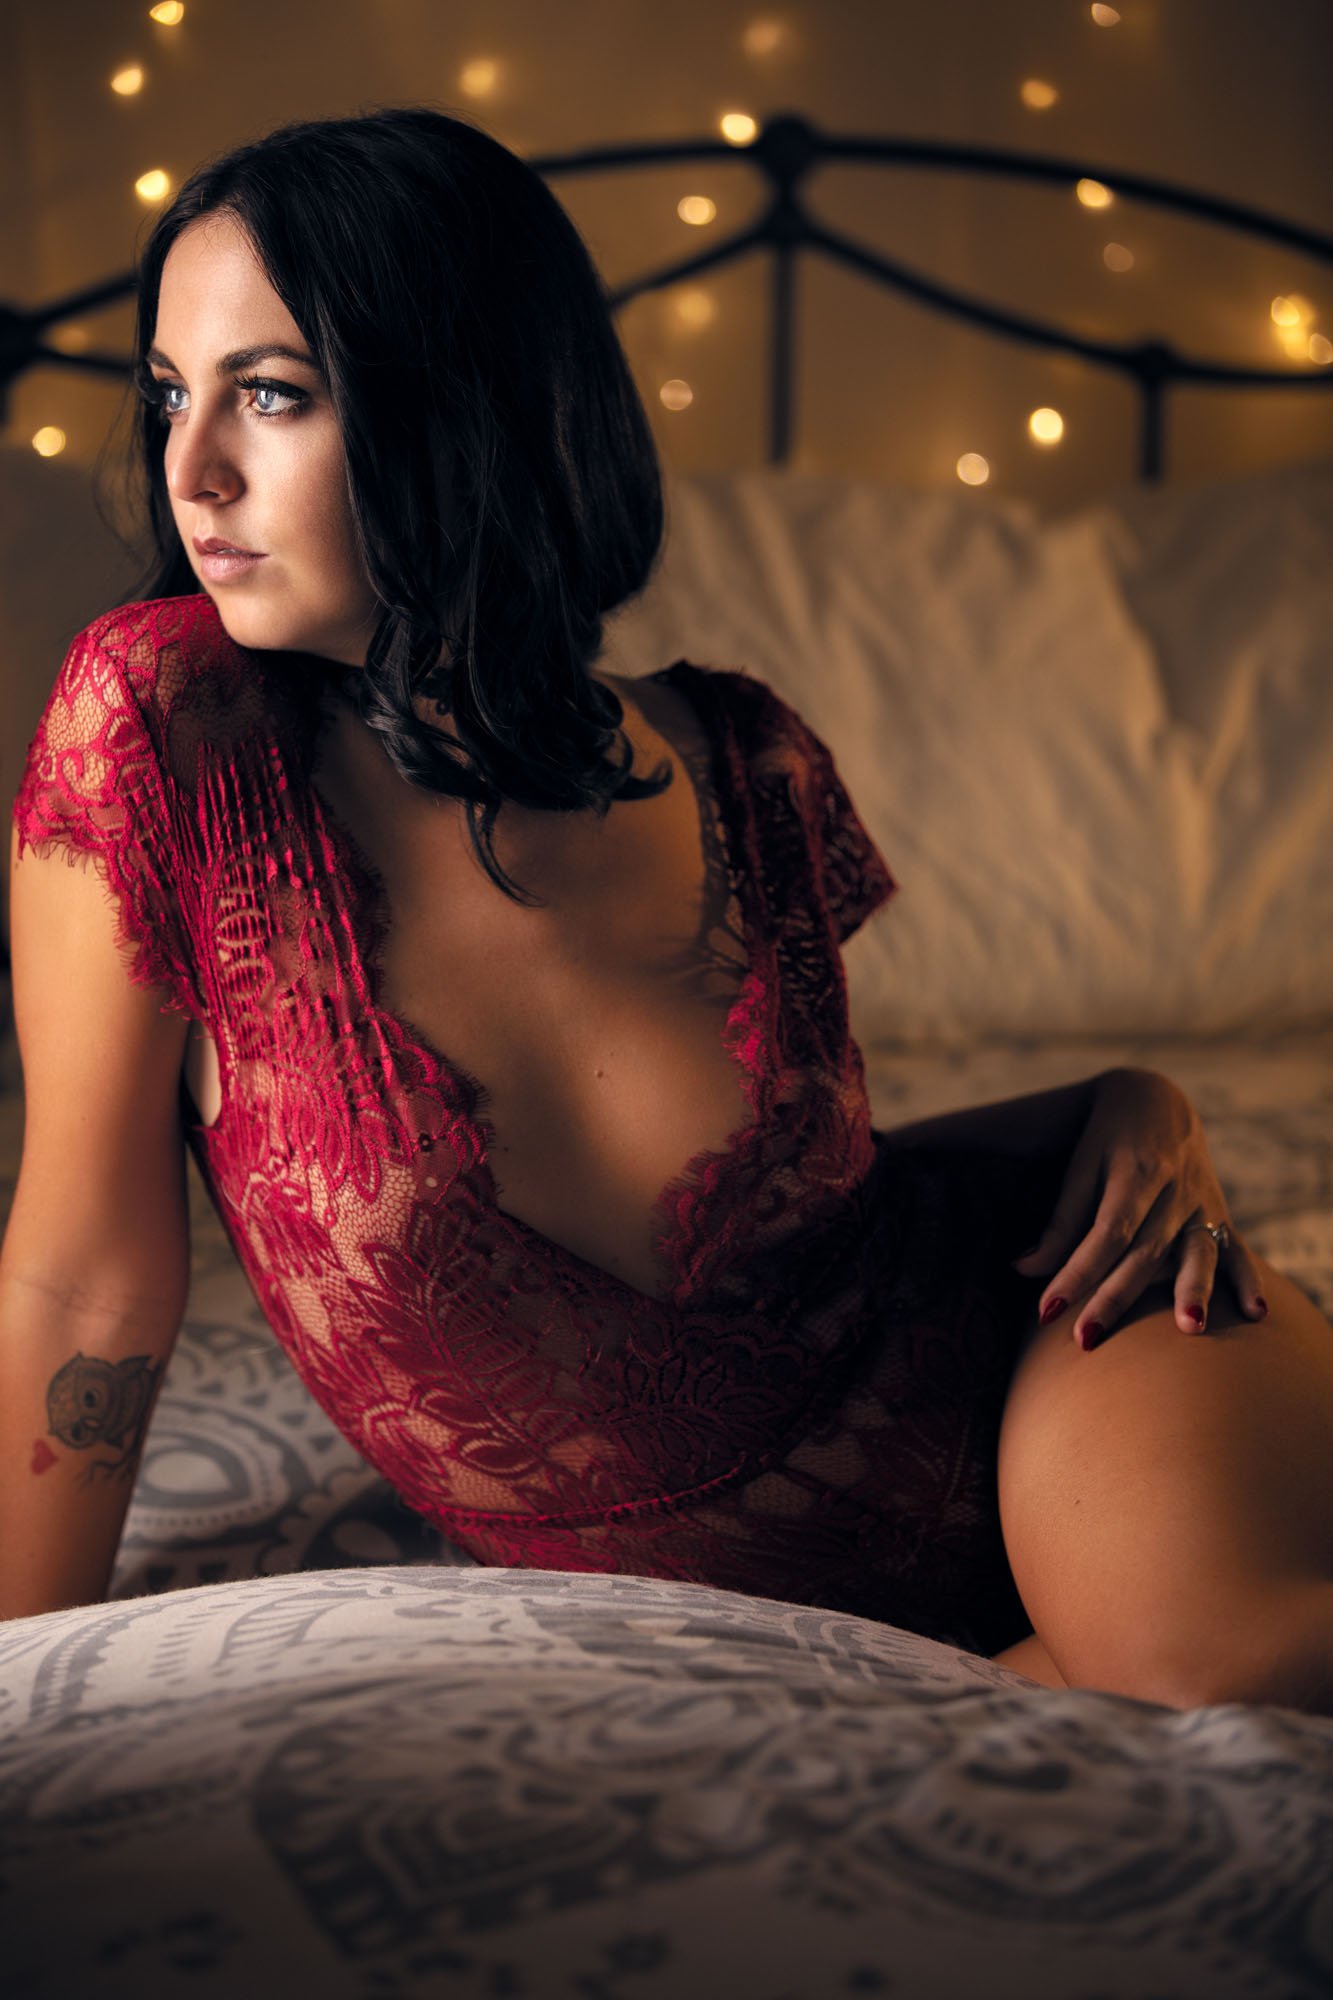
Once you find a good window to work with the next thing you’ll want to do is think up a pose that will allow the light cross your body. By allowing the light to skip across your body from left to right or right to left you’ll introduce shadows across your body and bust that will sculpt your figure.
Rotate your body in and out of the light until you find an angle that the light highlights your best features. When I pose women into this kind of light, I generally like to create heavy shadow by turning the hips away from the body and then turning the upper tors back into the window.
This will skip the light across your bust and catch the edge of your abs and obliques if you have a defined mid section. If you don’t have a defined waist line, consider picking up one of these curvy boudoir outfits.
Master The Art of Posing Women
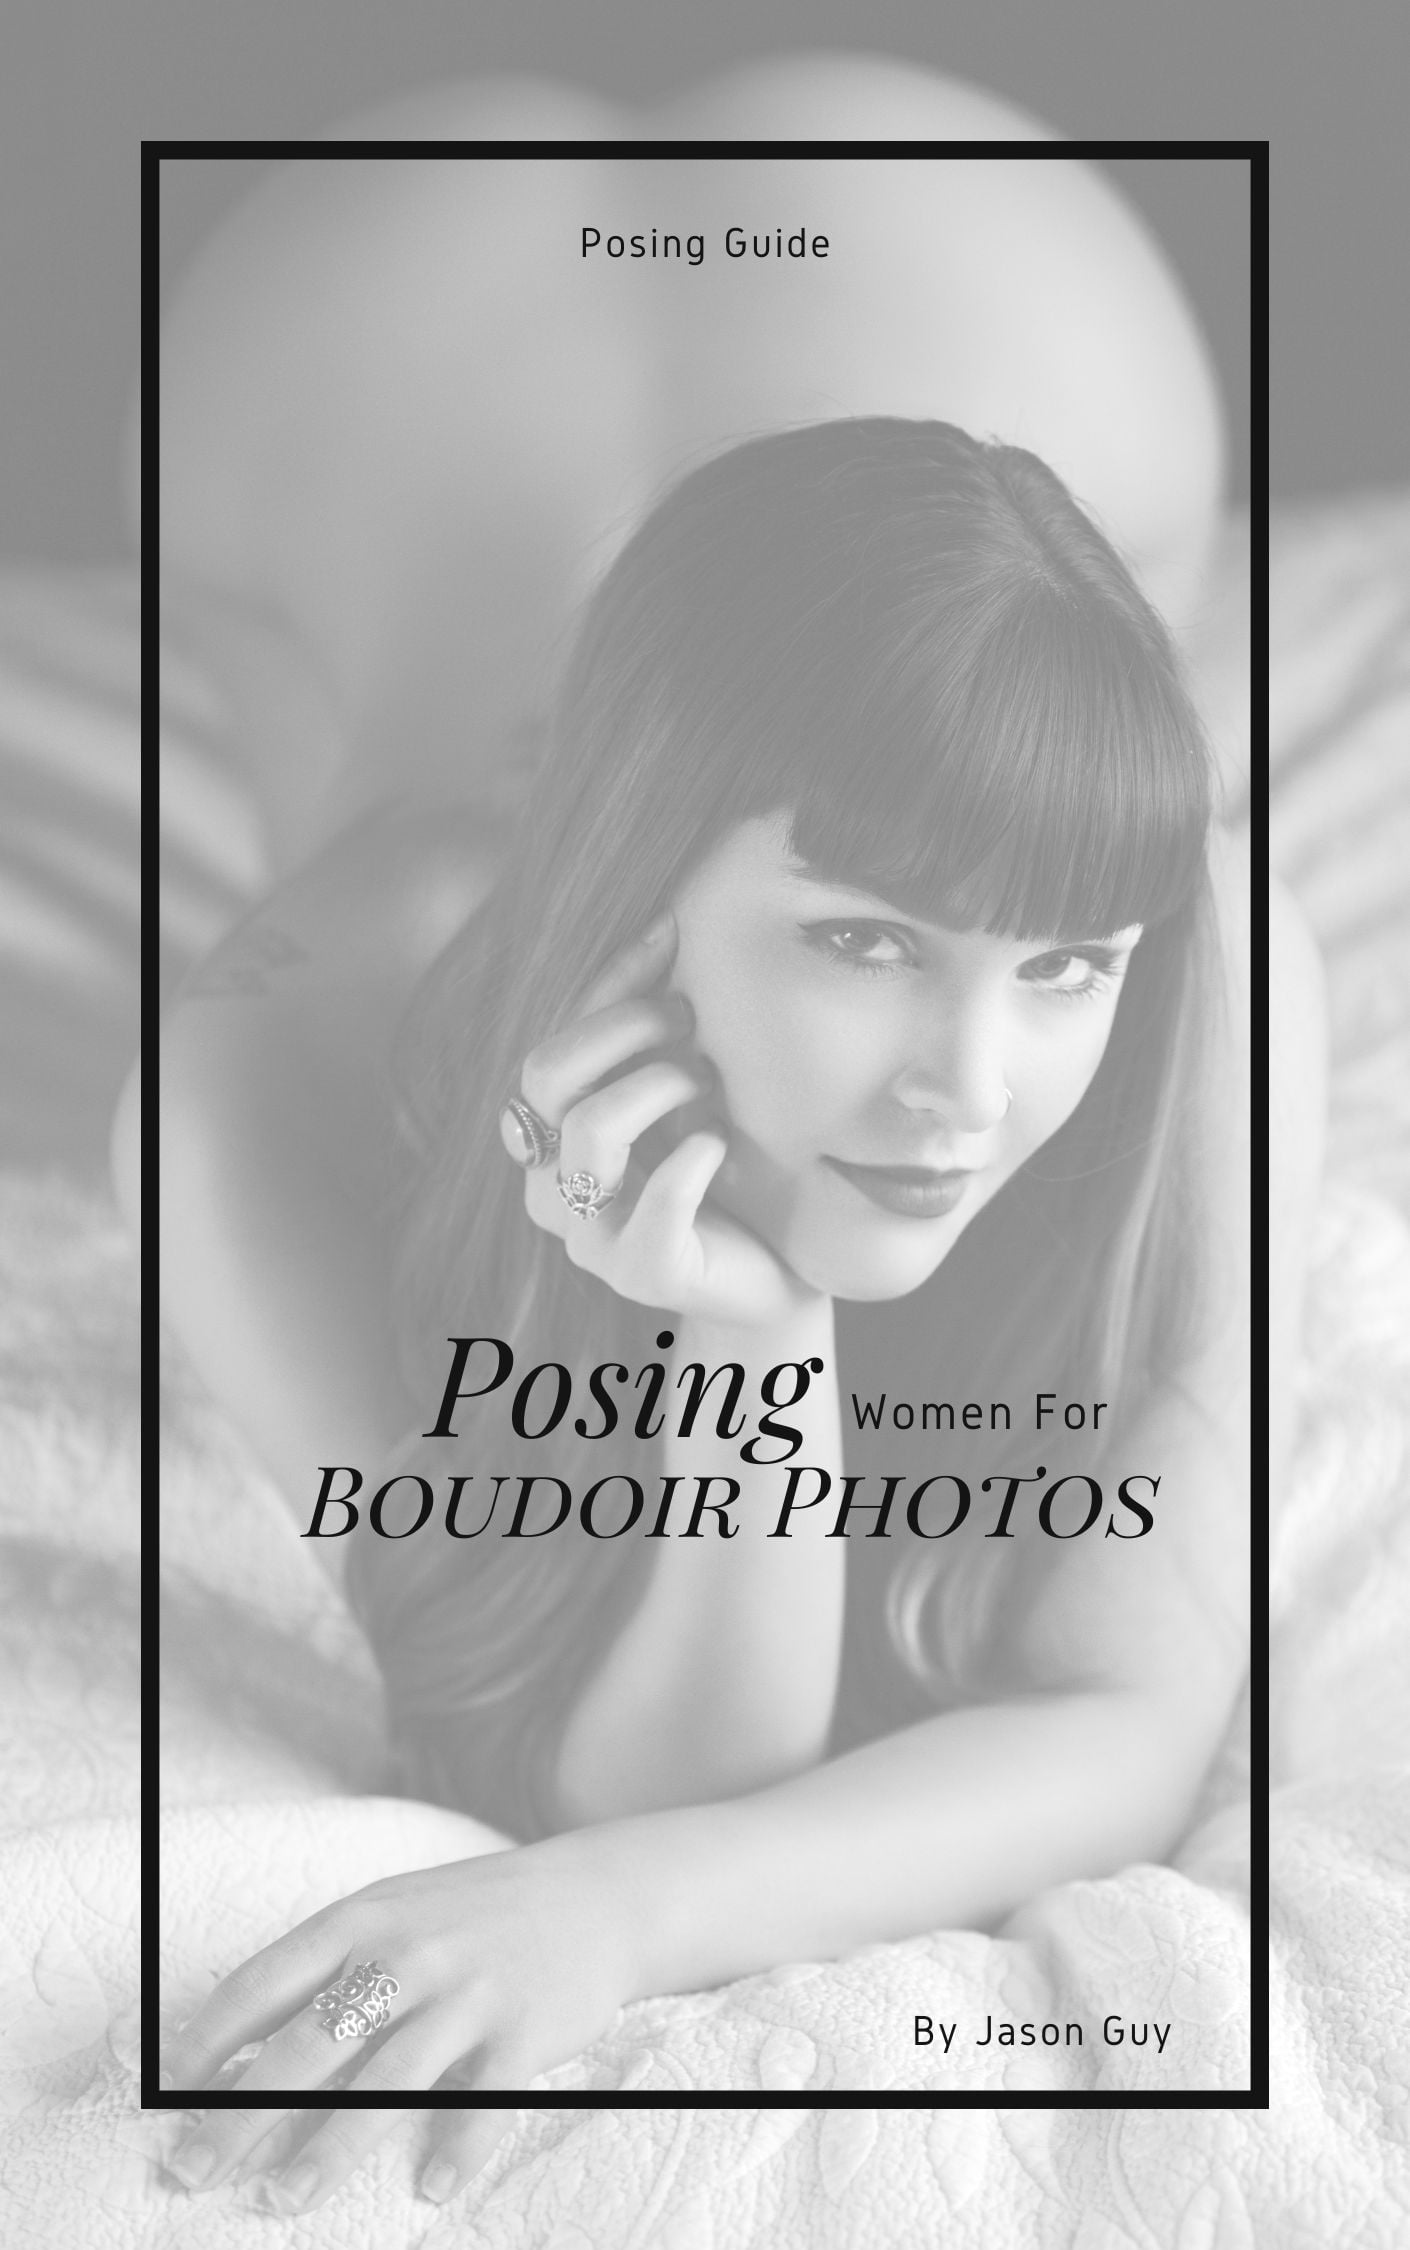
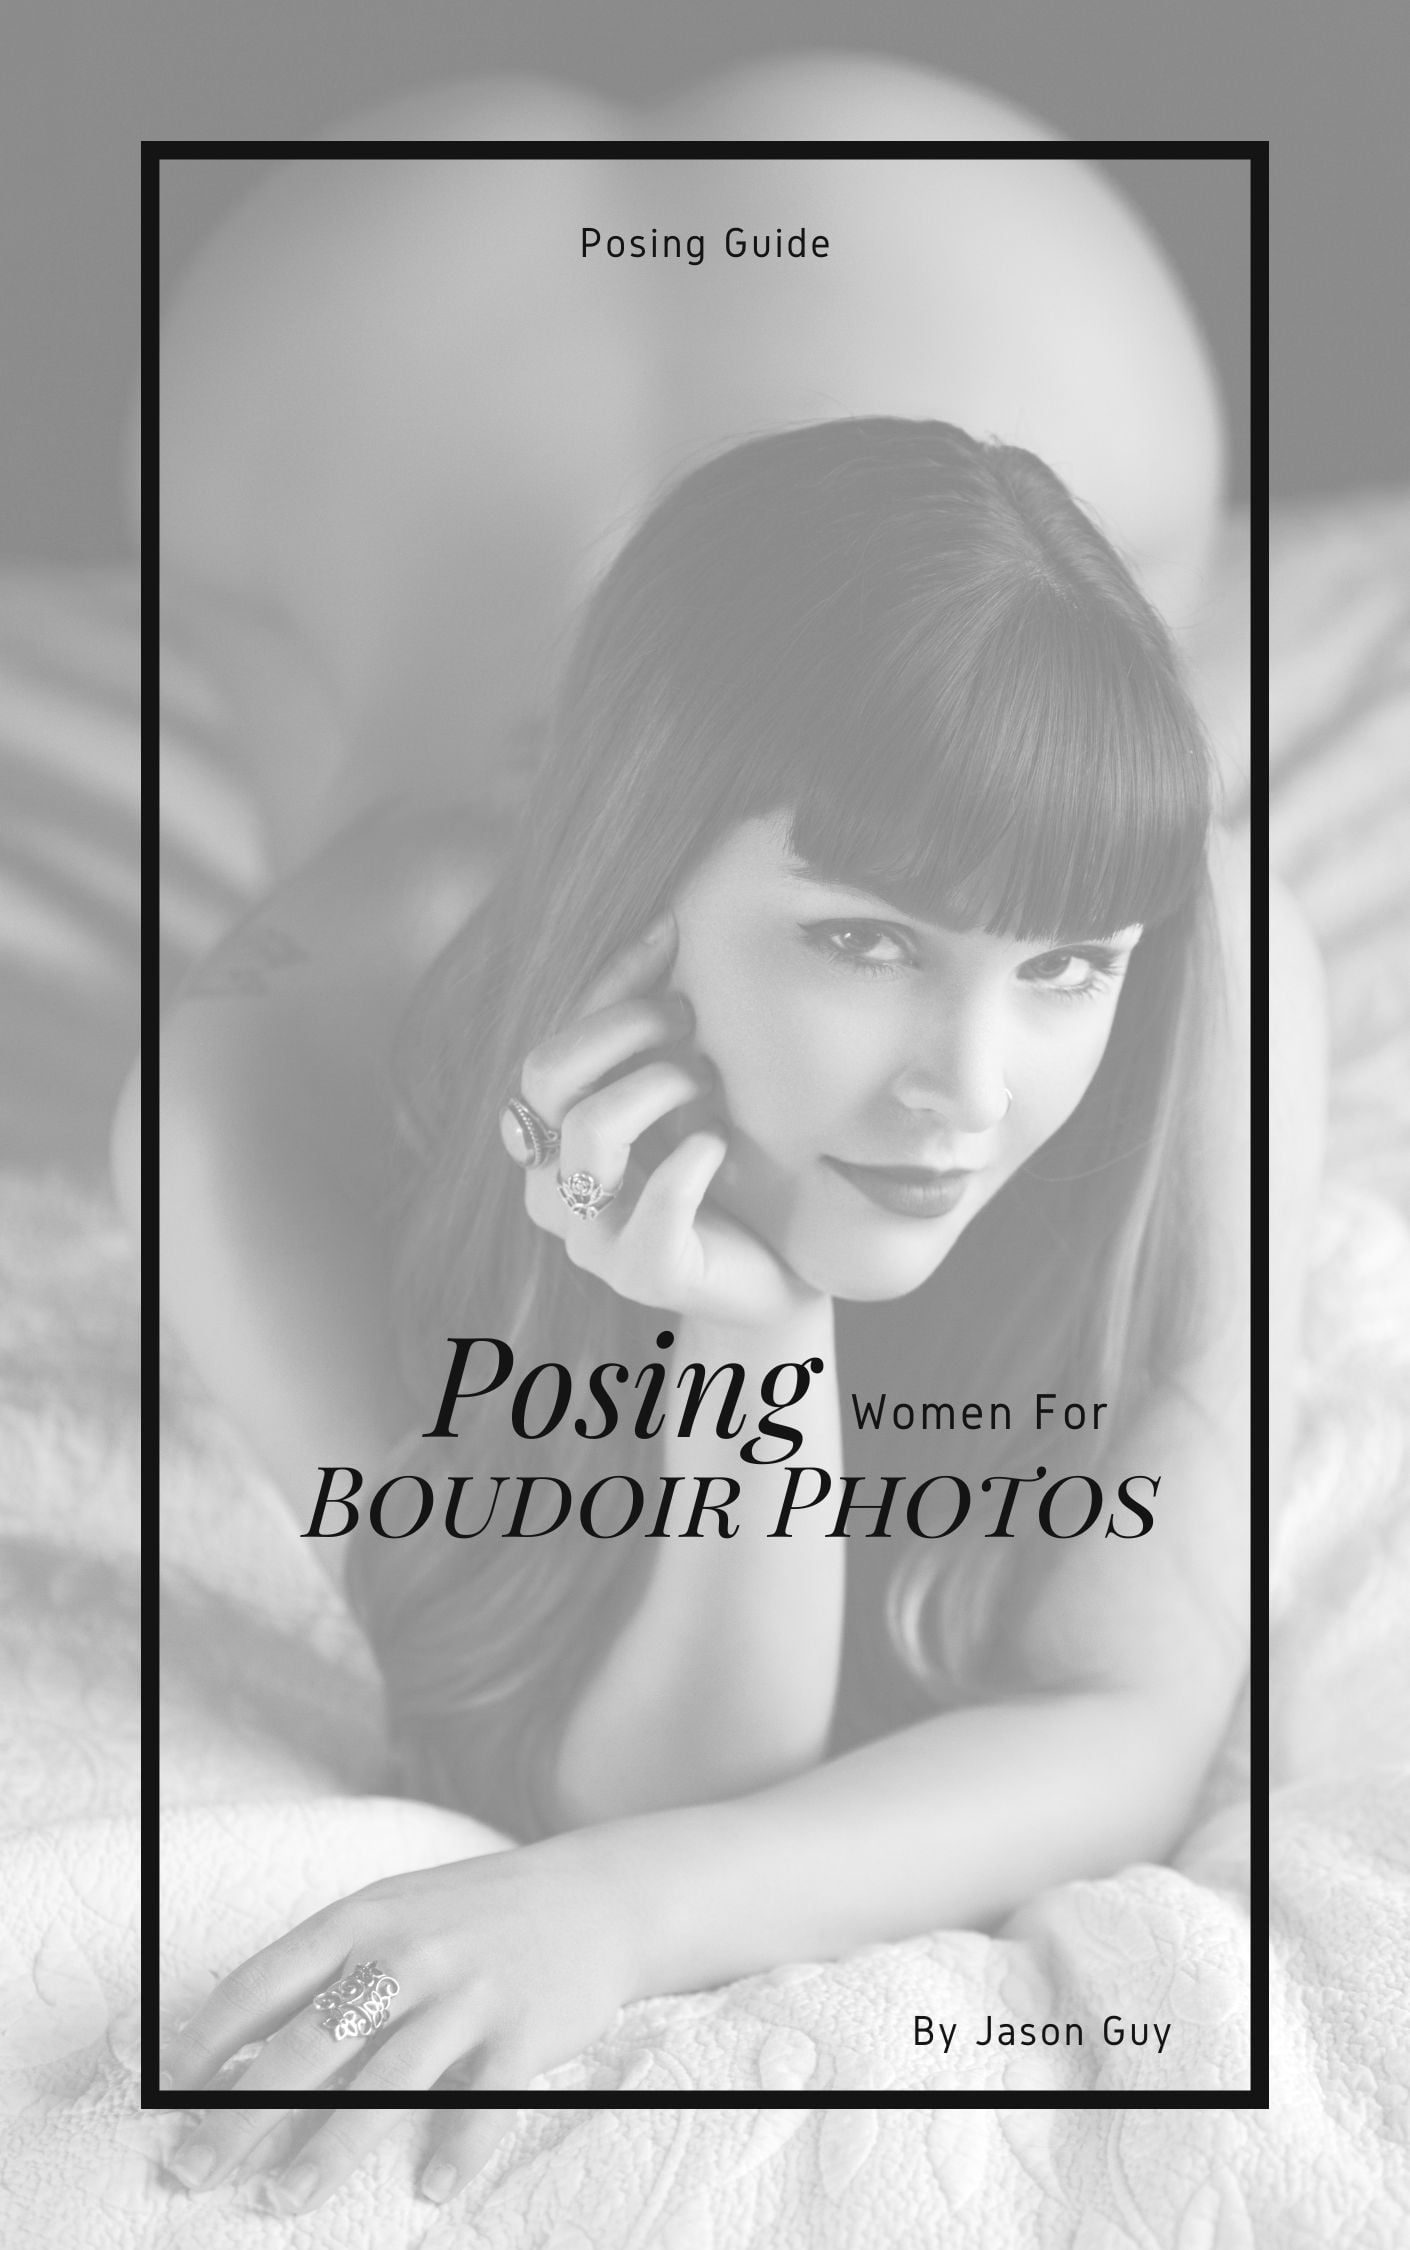
In this guide I’ll show you how to pose the nude female form in a way that tastefully flatters her body type and creates emotion. This guide is intended for beginner and intermediate photographers and will teach you how to balance the proportions of any woman to make her look her best.
By first teaching you the fundamentals of posing, these principals will help you progress to a point where you can confidently pose any woman in an improvised fashion.
5. Adjust Your Camera Perspective To Improve Your Composition

Composition includes the crop, framing of the photo and how you choose to pose yourself within the frame. If you want a quick breakdown on all of these points, I suggest you check out the composition section of this post.
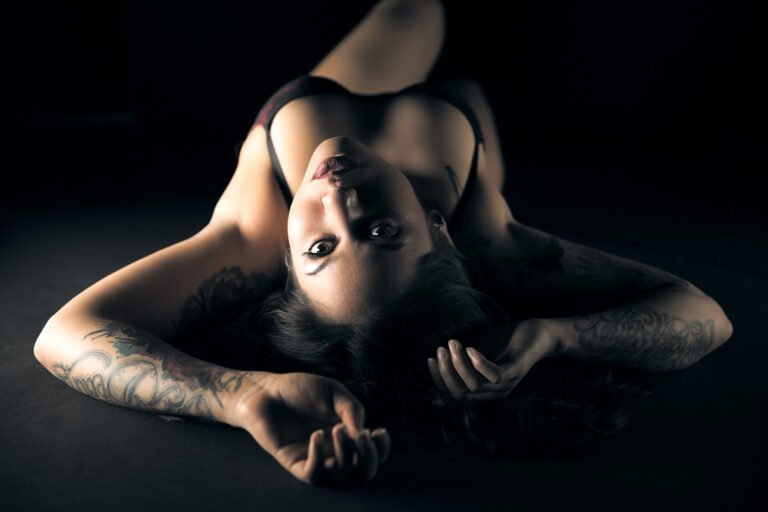
If you’d rather not take that deep dive right now, just try and float the focal points away from the center of the image in creative ways. With regard to pose, just remember that anything brought toward the camera will get highlighted while everything pushed away will get diminished.
Related: Boudoir Poses: Ideas & Tips
Play with these concepts and use them to your advantage to highlight your partners favorite features and down play any areas you have insecurities about. If you’d like some posing inspiration you can check out my boudoir photo gallery here.
6. Adjusting Your Manual Camera App For DIY Boudoir Photos With Your Phone
Once you find some good poses that get the light contouring your body nicely, it’s then time to dial in your cameras technical settings. Don’t worry, this is much easier to do than it is with a professional DSLR!
With most apps you’ll just need to tap the phone in the area you want it to expose for and then drag up or down with your finger to adjust exposure.
These manual camera apps will also allow you to select your focus with fine control if you’d like to play with depth of field shots where the background goes out of focus. To do this try separate the focal point and background as far apart as possible for maximum bokeh (blurriness). Portrait modes will sometimes try to blur your photos using software if you’d like to play with this contemporary filter.
7. How To Make Sexy Expressions For DIY Boudoir Photos

Teaching yourself how to make sexy expressions is probably the hardest part of creating diy boudoir photos. This is because most women don’t know what a sexy expression looks like especially when looking at photos of their own face.
Once you understand the non-verbal facial clusters that create sensual expression though it will become a lot easier to spot sexy expressions in the photos you’ll take.
This should help you better understand what a sexy expression looks like and will give you some good things to practice in front of a mirror so you can internalize what these expressions feel like.
This is how models become “photogenic,” they practice a lot in front of the mirror. In fact, good models and actors will spend large amounts of time in front of a mirror learning how express different emotions on command. As it turns out photogenic isn’t something you’re born with or not, it’s a skill you can practice and improve upon.
8. Editing Your DIY Boudoir Photos On Your Phone

Once you capture the prefect photo using the steps outlined above, the last step is to edit your boudoir selfie. There are a bunch of 3rd party apps you can get to put different filters on your photos.
However you choose color tone your photos is your call, but generally I find that less is more with editing. This is especially true with any kind of skin filters that blur skin texture like Facetune.
Do your best to capture photos that look good without editing for best results. If you do choose to color tone or edit your skin with these apps, be judicious and try not to over do it.
You’ll be much happier in the long run spending some extra time getting the lighting just right on your face or improving your composition instead of hiding mistakes behind bad edits.
Like, Share & Comment!
I hope this helped give you the confidence to try and capture your own diy boudoir photos with your phone. Remember to just keep things simple and follow the steps laid out in this guide and you’ll do great!
How you prepare will ultimately determine how your photos turn out. Just check out everything mentioned throughout this post and you’ll be able to capture boudoir selfies better then you thought possible. I promise! Never underestimate what can be done with small amounts of money and some DIY creativity!

