Choosing the best boudoir camera settings mostly depends on the look you want to create. That said, following are the most common camera settings I use when I create my boudoir photos.
- Aperture – As wide as your lens can go: f1.4, f2.8, etc. depending on your lens.
- Shutter Speed – At least 1/100th of a second. You can shoot slower if you have IBIS or image stabilization in you lens and steady hands.
- ISO – As low as possible to correctly expose the image.
- Focus Mode – Eye AF if you want to focus on the eye, single point for everything else.
- Other Camera Settings I Find Helpful– Highlight alert, exposure simulation, file settings.
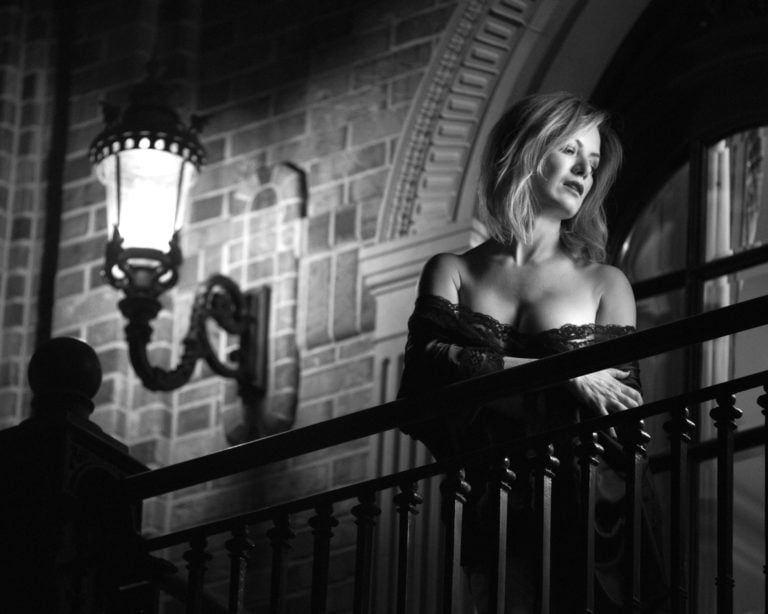
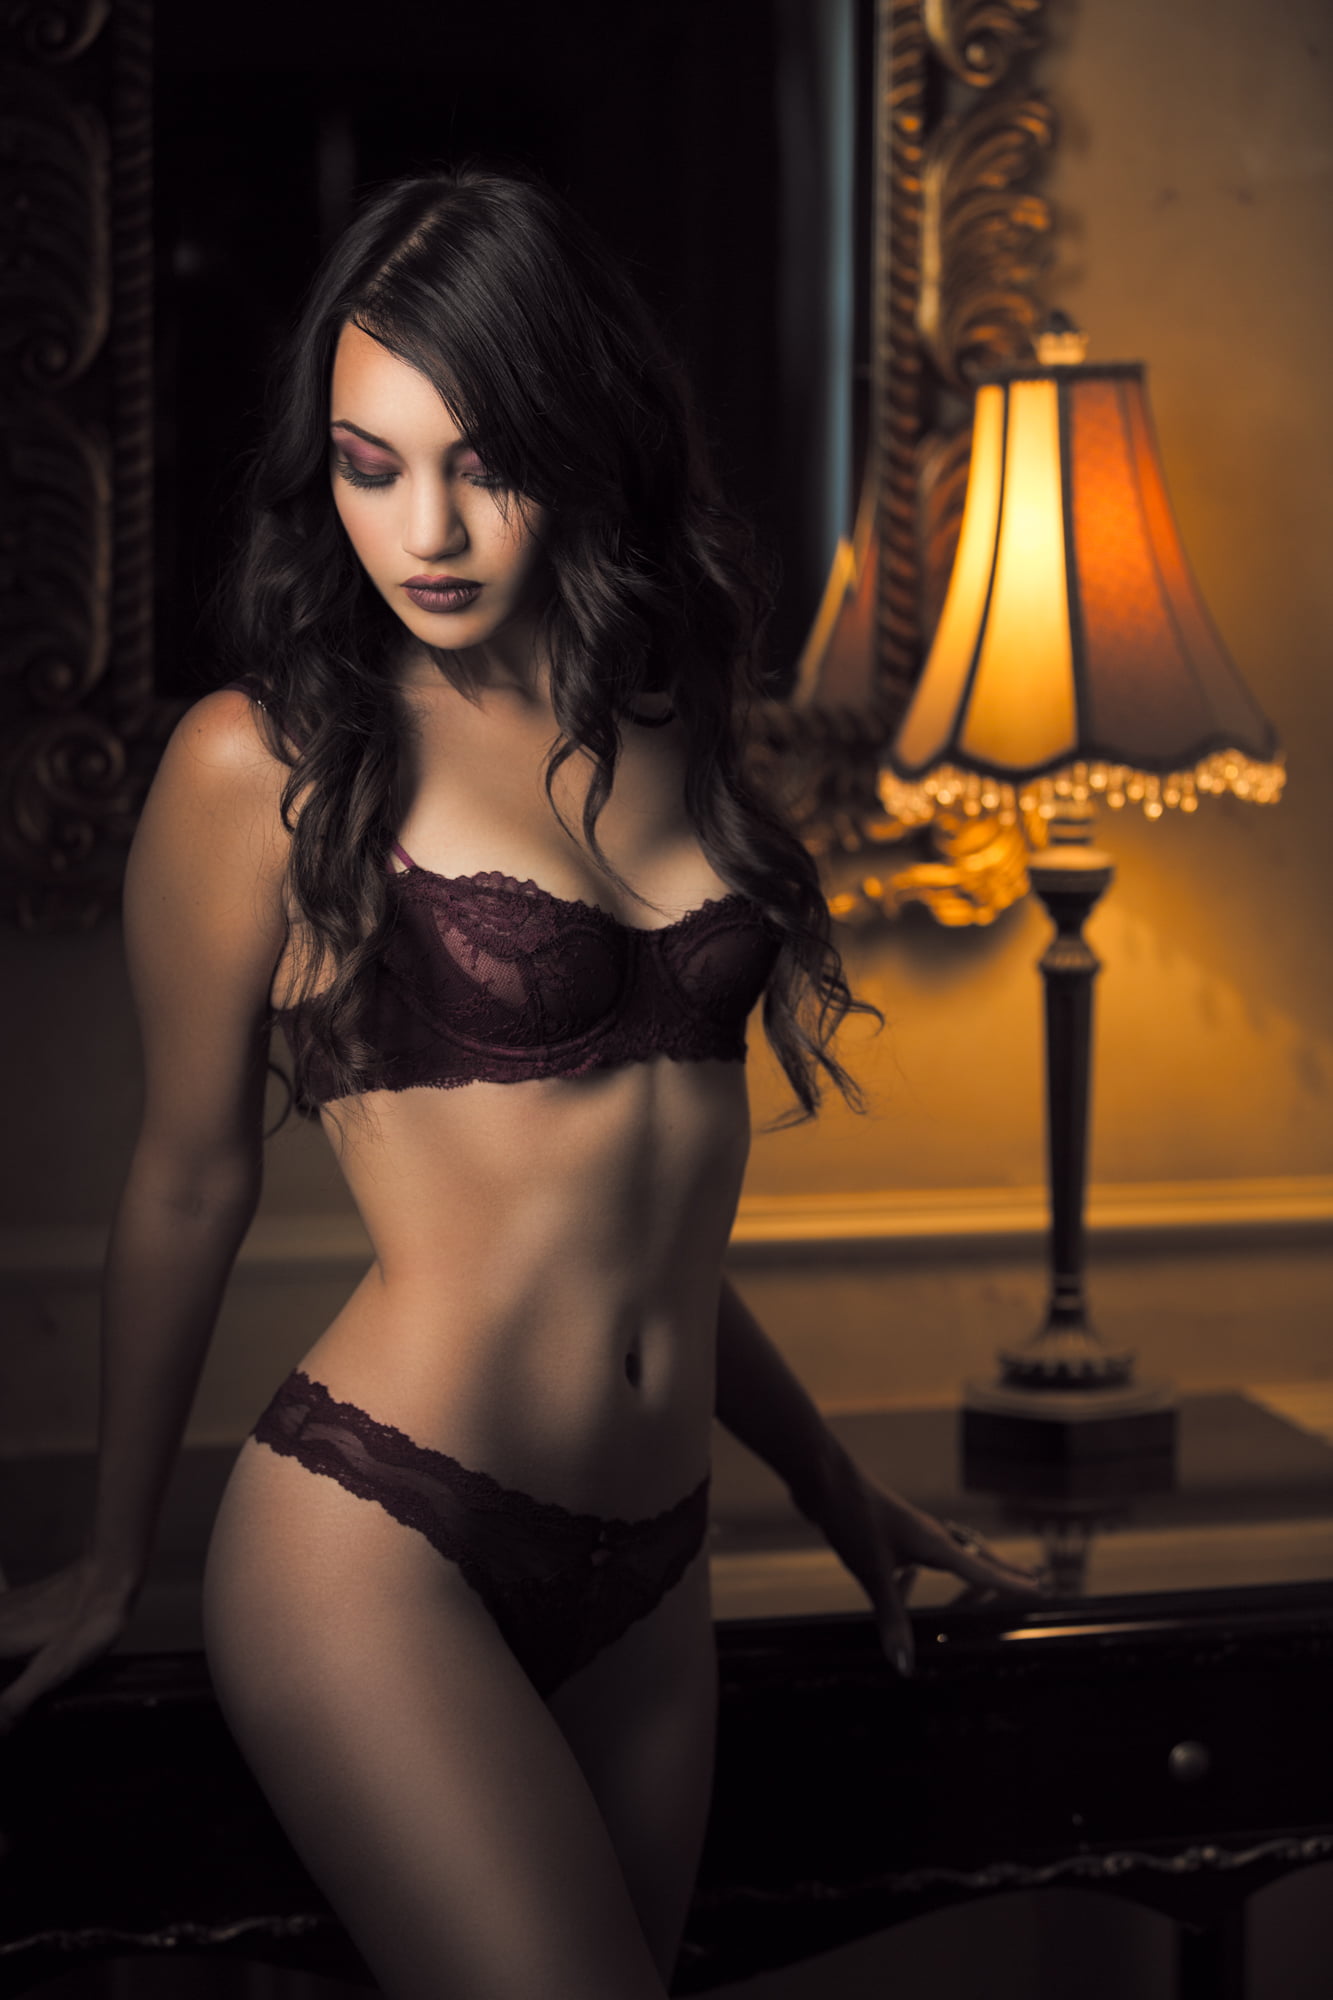
All of my images are captured in manual mode which gives me full control over these settings and thus how my boudoir photos will look. With this in mind, I’ll include some of my photos along with their EXIF data so you can learn how to expose your own images manually.
This post may contain affiliate links, meaning I get a commission if you decide to make a purchase through my links at no cost to you. Please read my disclosure for more info.
Master The Art of Posing Women
In this guide I’ll show you how to pose the nude female form in a way that tastefully flatters her body type and creates emotion. This guide is intended for beginner and intermediate photographers and will teach you how to balance the proportions of any woman to make her look her best.
By first teaching you the fundamentals of posing, these principals will help you progress to a point where you can confidently pose any woman in an improvised fashion.
Aperture For Boudoir Photography
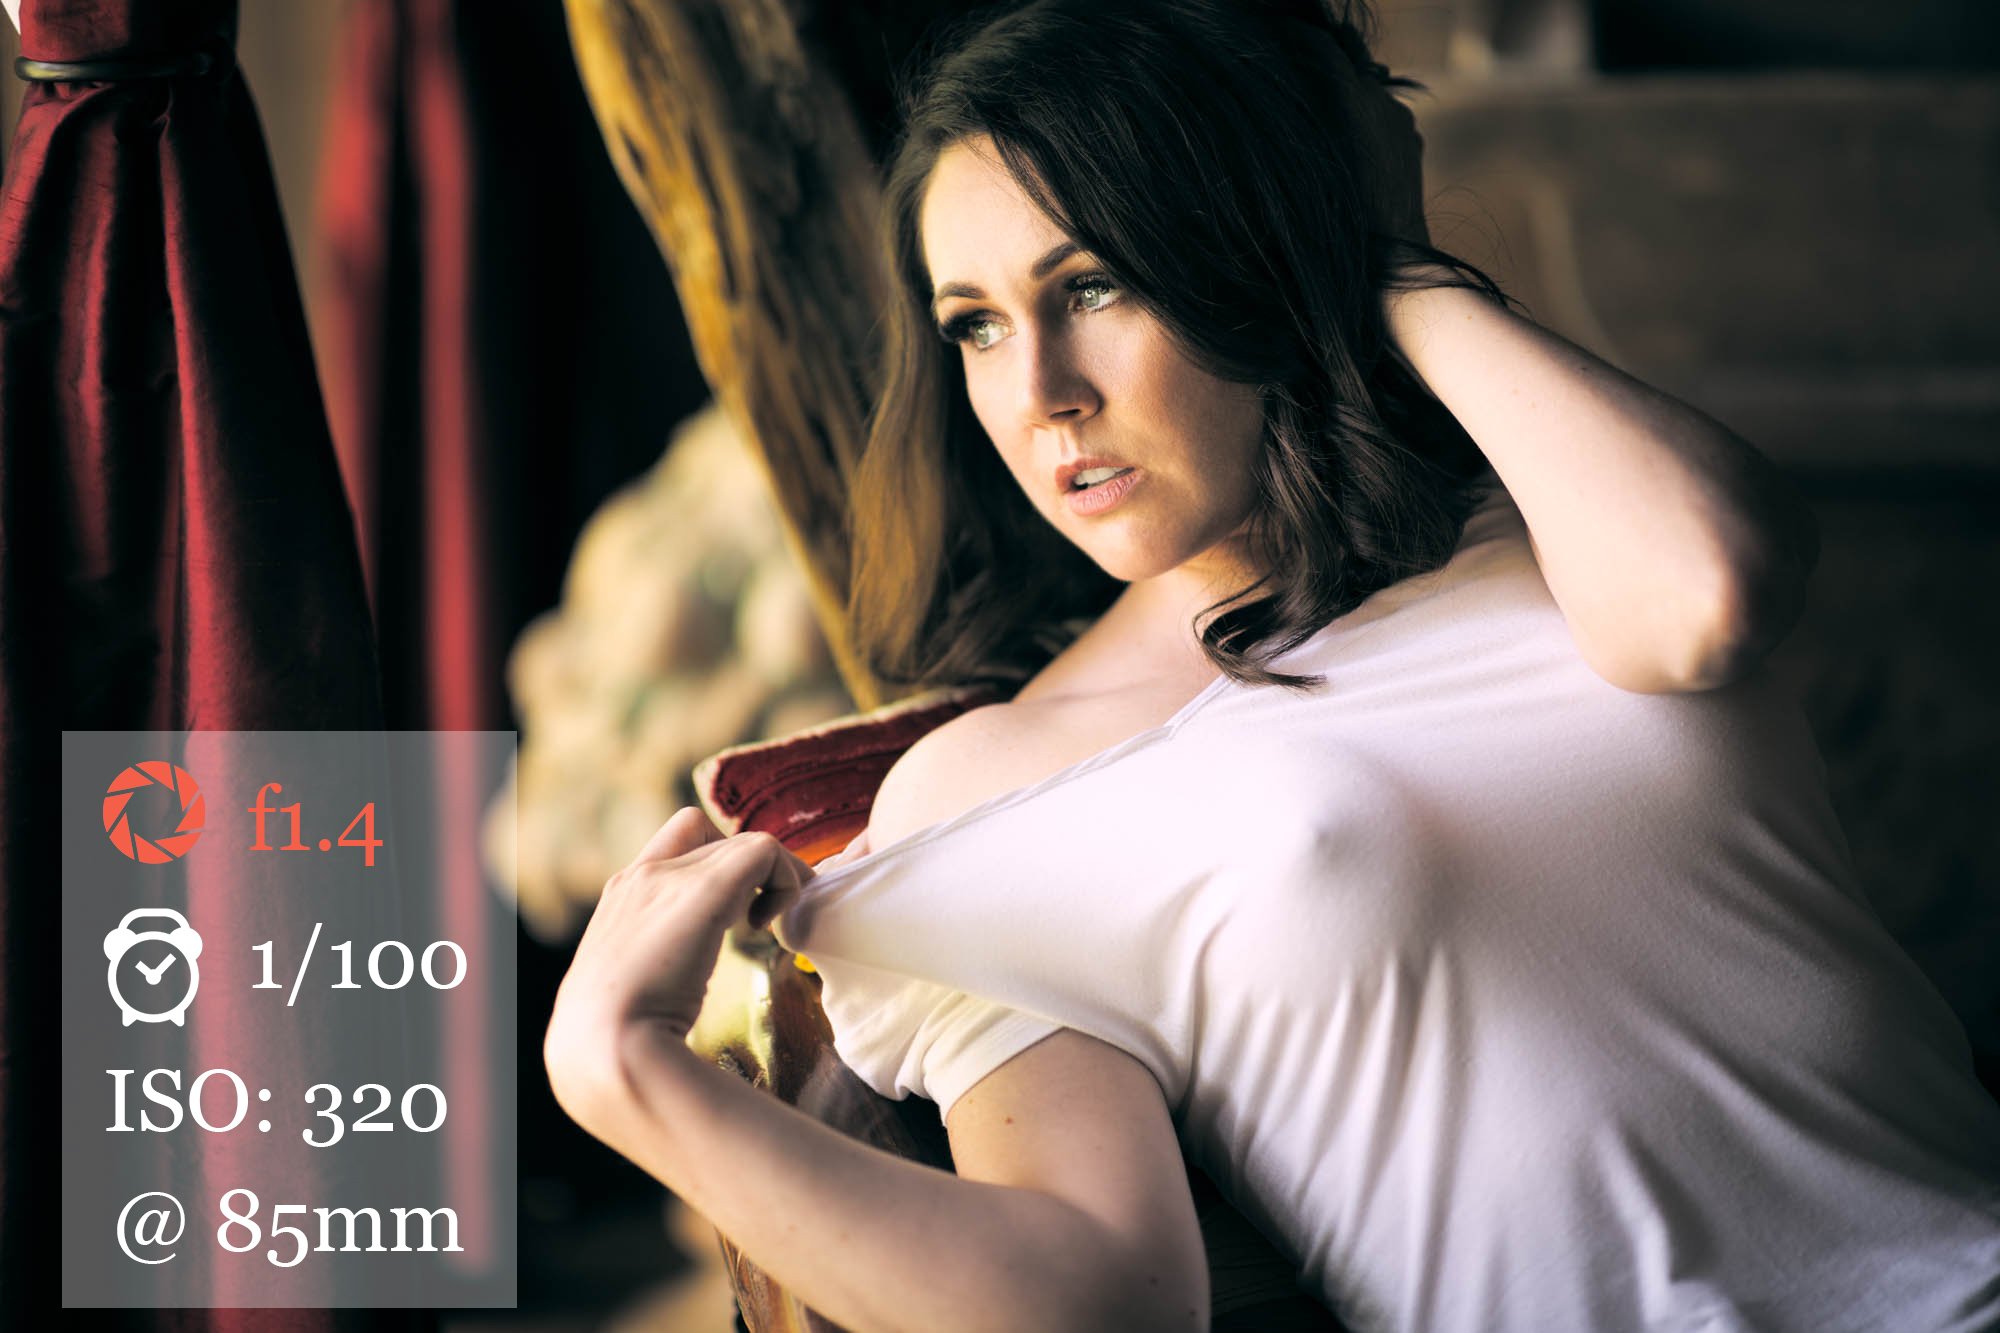
The first thing I do when determining my camera settings is I choose the aperture I want. The reason for this is because aperture will have a huge impact on the images depth of field (how much is in focus). Wider apertures create a shallow depth of field while small apertures will put more of the scene in focus.
I usually prefer a shallow depth of field for my boudoir photos but I will occasionally shoot at higher f stops if I want more of the background in focus. That said, wide apertures will generally capture the highest quality photos indoors and in low light situations because they allow you to keep your iso lower.
If this concept is over your head, I recommend you take a break here and first learn how to expose your camera manually before reading further.
Shutter Speed Settings For Boudoir
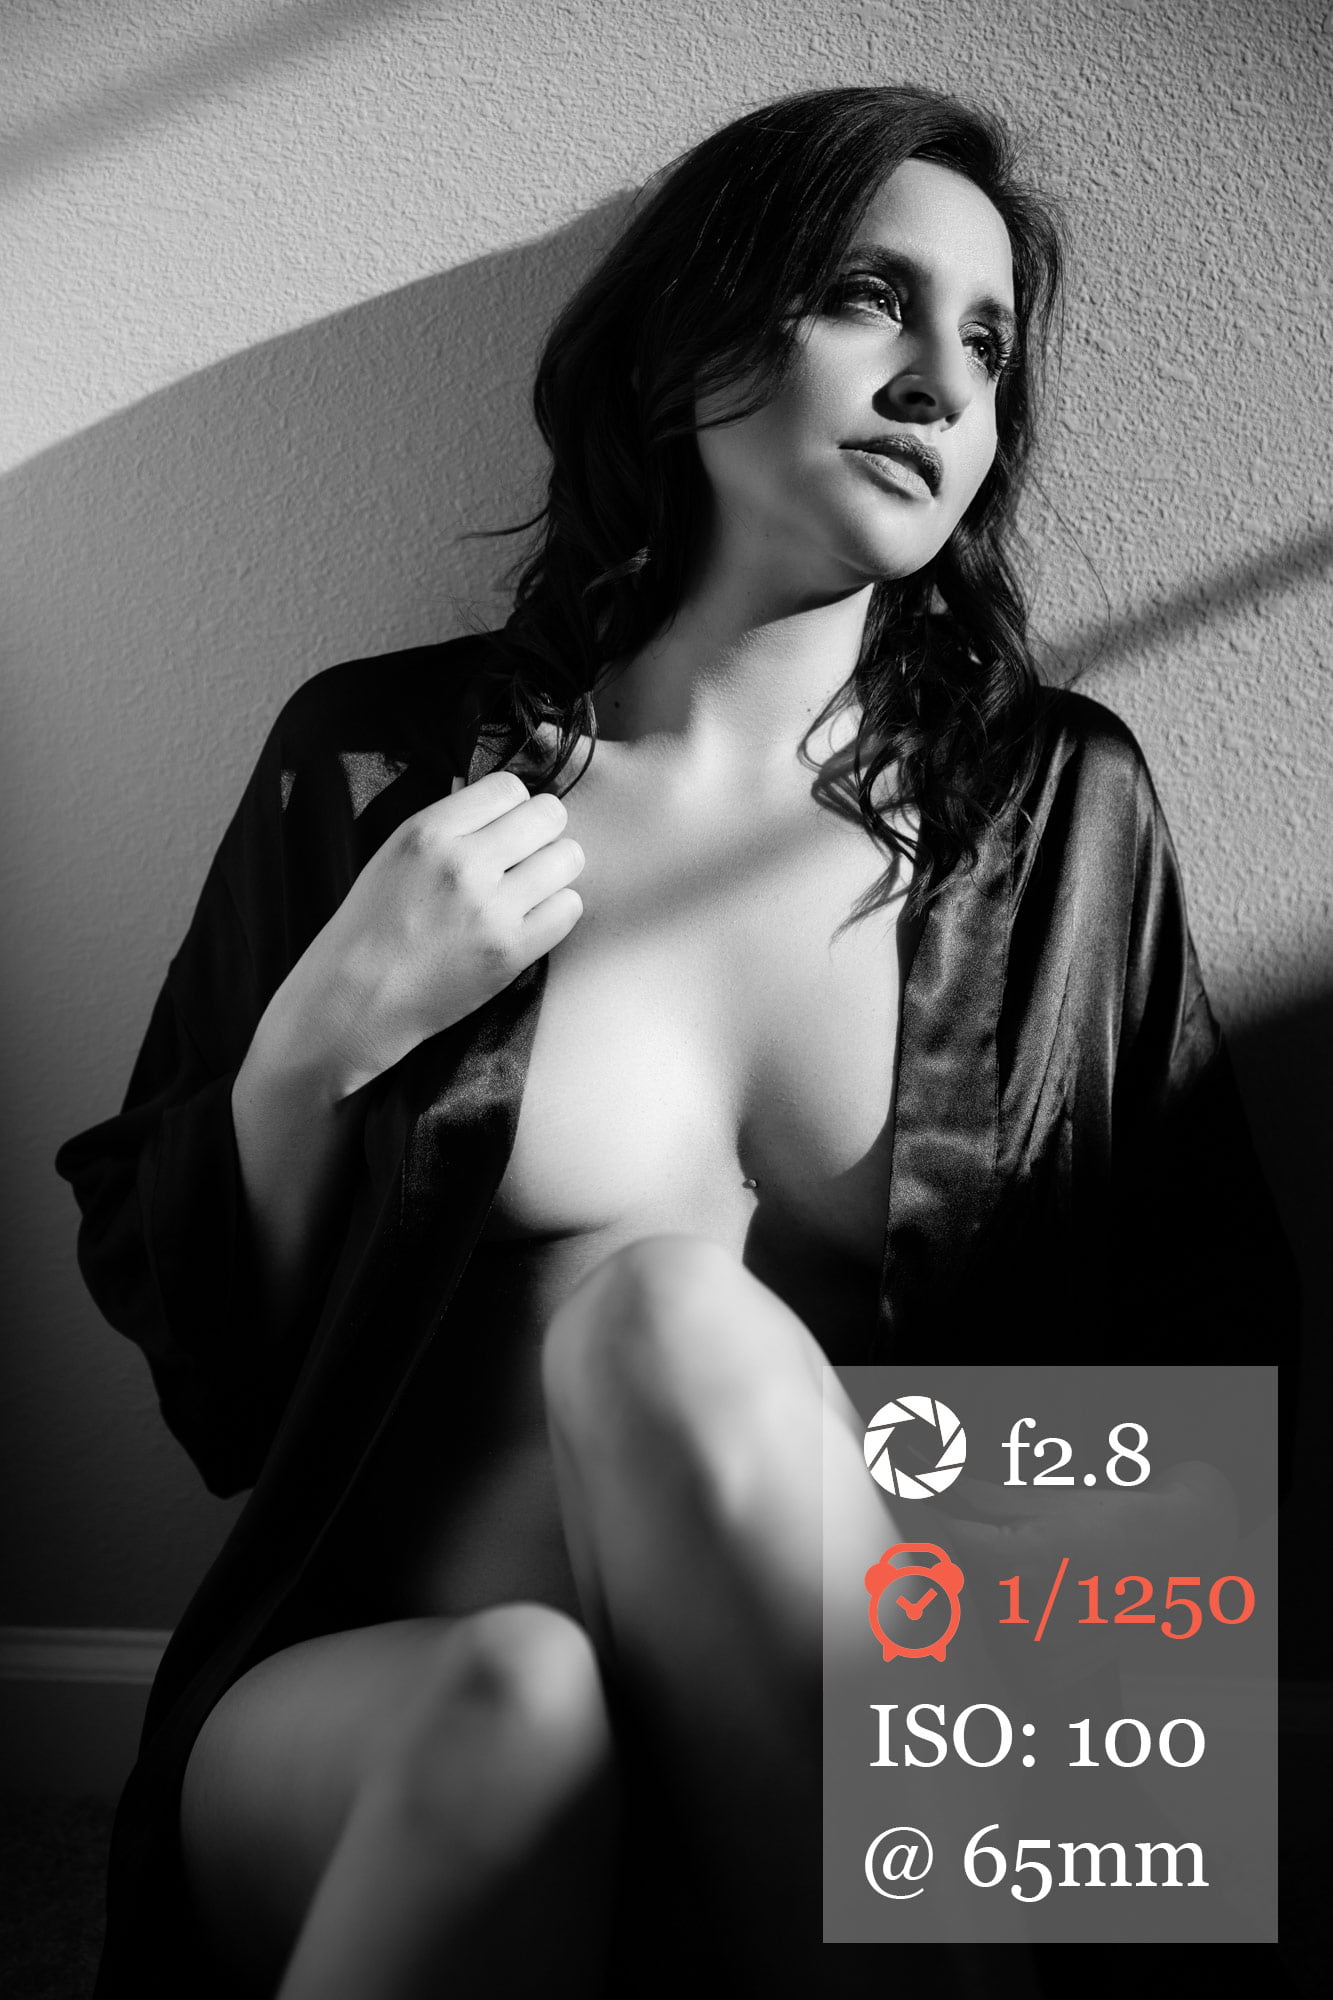
Once I choose the aperture I want, I’ll then balance my exposure with the iso and shutter speed. With DSLR cameras the way I do this is by setting the shutter speed to the “minimum” handhold speed of 1/100 of a second and the iso to 100. Once I do that I’ll look at my camera’s internal light meter and see what is reads.
If the camera’s light meter (I use evaluative metering) shows I’m underexposed, I’ll then turn up the iso (more on iso in a second). If I’m overexposed, I’ll increase my shutter speed until the light meter shows a correct exposure.
Once the light meter shows that I’m close, I’ll then take a test shot and look at the capture on the camera’s LCD monitor. I recommend you also double check the histogram to make sure your exposure is correct. This is because sometimes the brightness of the LCD will throw you off and make you think your exposure is closer to correct then it actually is. Once I check both of those things I’ll then adjust the exposure and repeat until I’m happy with my capture.
With mirrorless cameras the process becomes a bit easier because instead of relying on the cameras light meter, you can instead just check the exposure simulation in the viewfinder. I still recommend you double check your exposure against the histogram though because the LCD’s still throw me off occasionally.
The above process is the basics of shutter speed. Once you master that, you can then move on to more advanced techniques like dragging the shutter. I drag the shutter for my boudoir photos often when I want to balance a flash with an end table light or candles.
ISO Settings For Boudoir
ISO is one of those things people obsess over, especially in online debate. Basically the lower the iso number, the higher quality your image will be. Most camera’s base iso is 100 (best quality) and my current camera goes as high as iso 51,200 (worst quality).
Unfortunately, the internet will tell you that anything over iso 100 is bad. This isn’t true. Although higher iso’s won’t render as high quality an image as lower iso’s, sometimes it’s necessary to push the iso higher to correctly expose your image. The upper limit of what iso you should use for boudoir will vary depending on who you talk to.
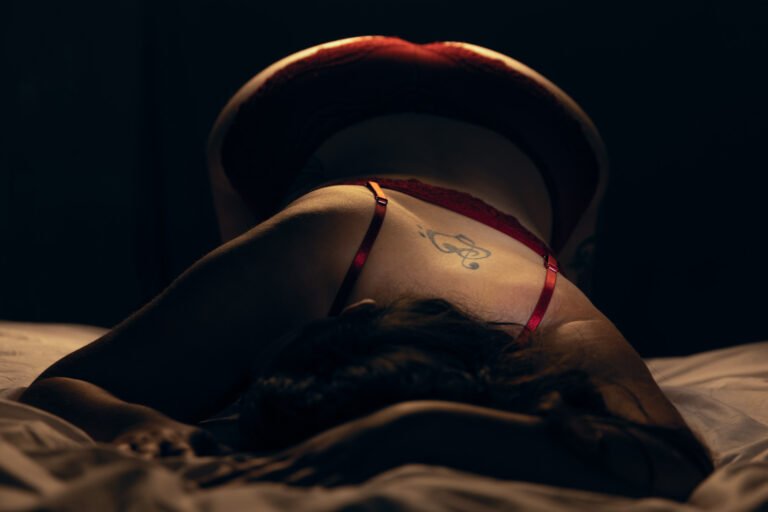
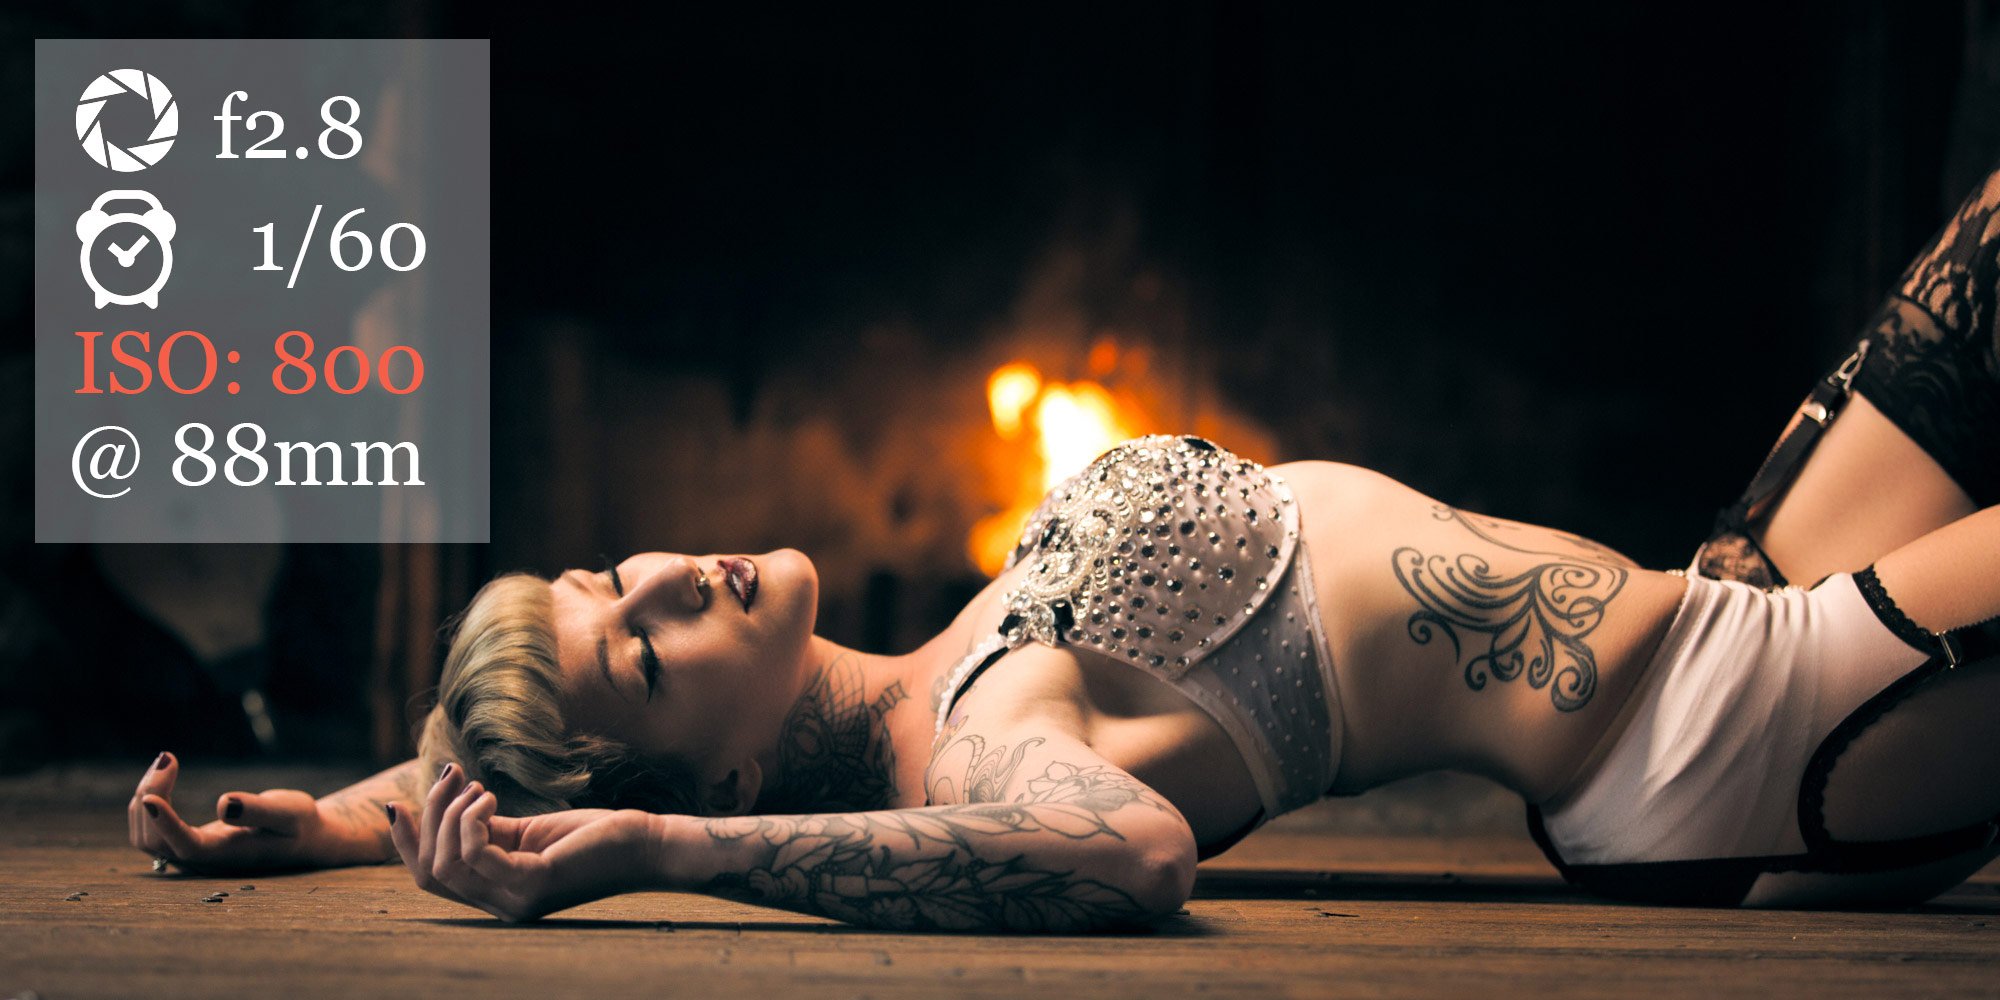
For example I’ll commonly expose women using only fire light. To do this you’ll be working at iso 4,000 and above. For most of my photography though I prefer not to push it above about iso 2,000. At higher iso’s not only will your image become noisier, but the color depth and dynamic range will also decrease.
I will raise my iso to correctly expose for low light sources in the background like:
- Table Lamps
- Fireplaces
- Candles
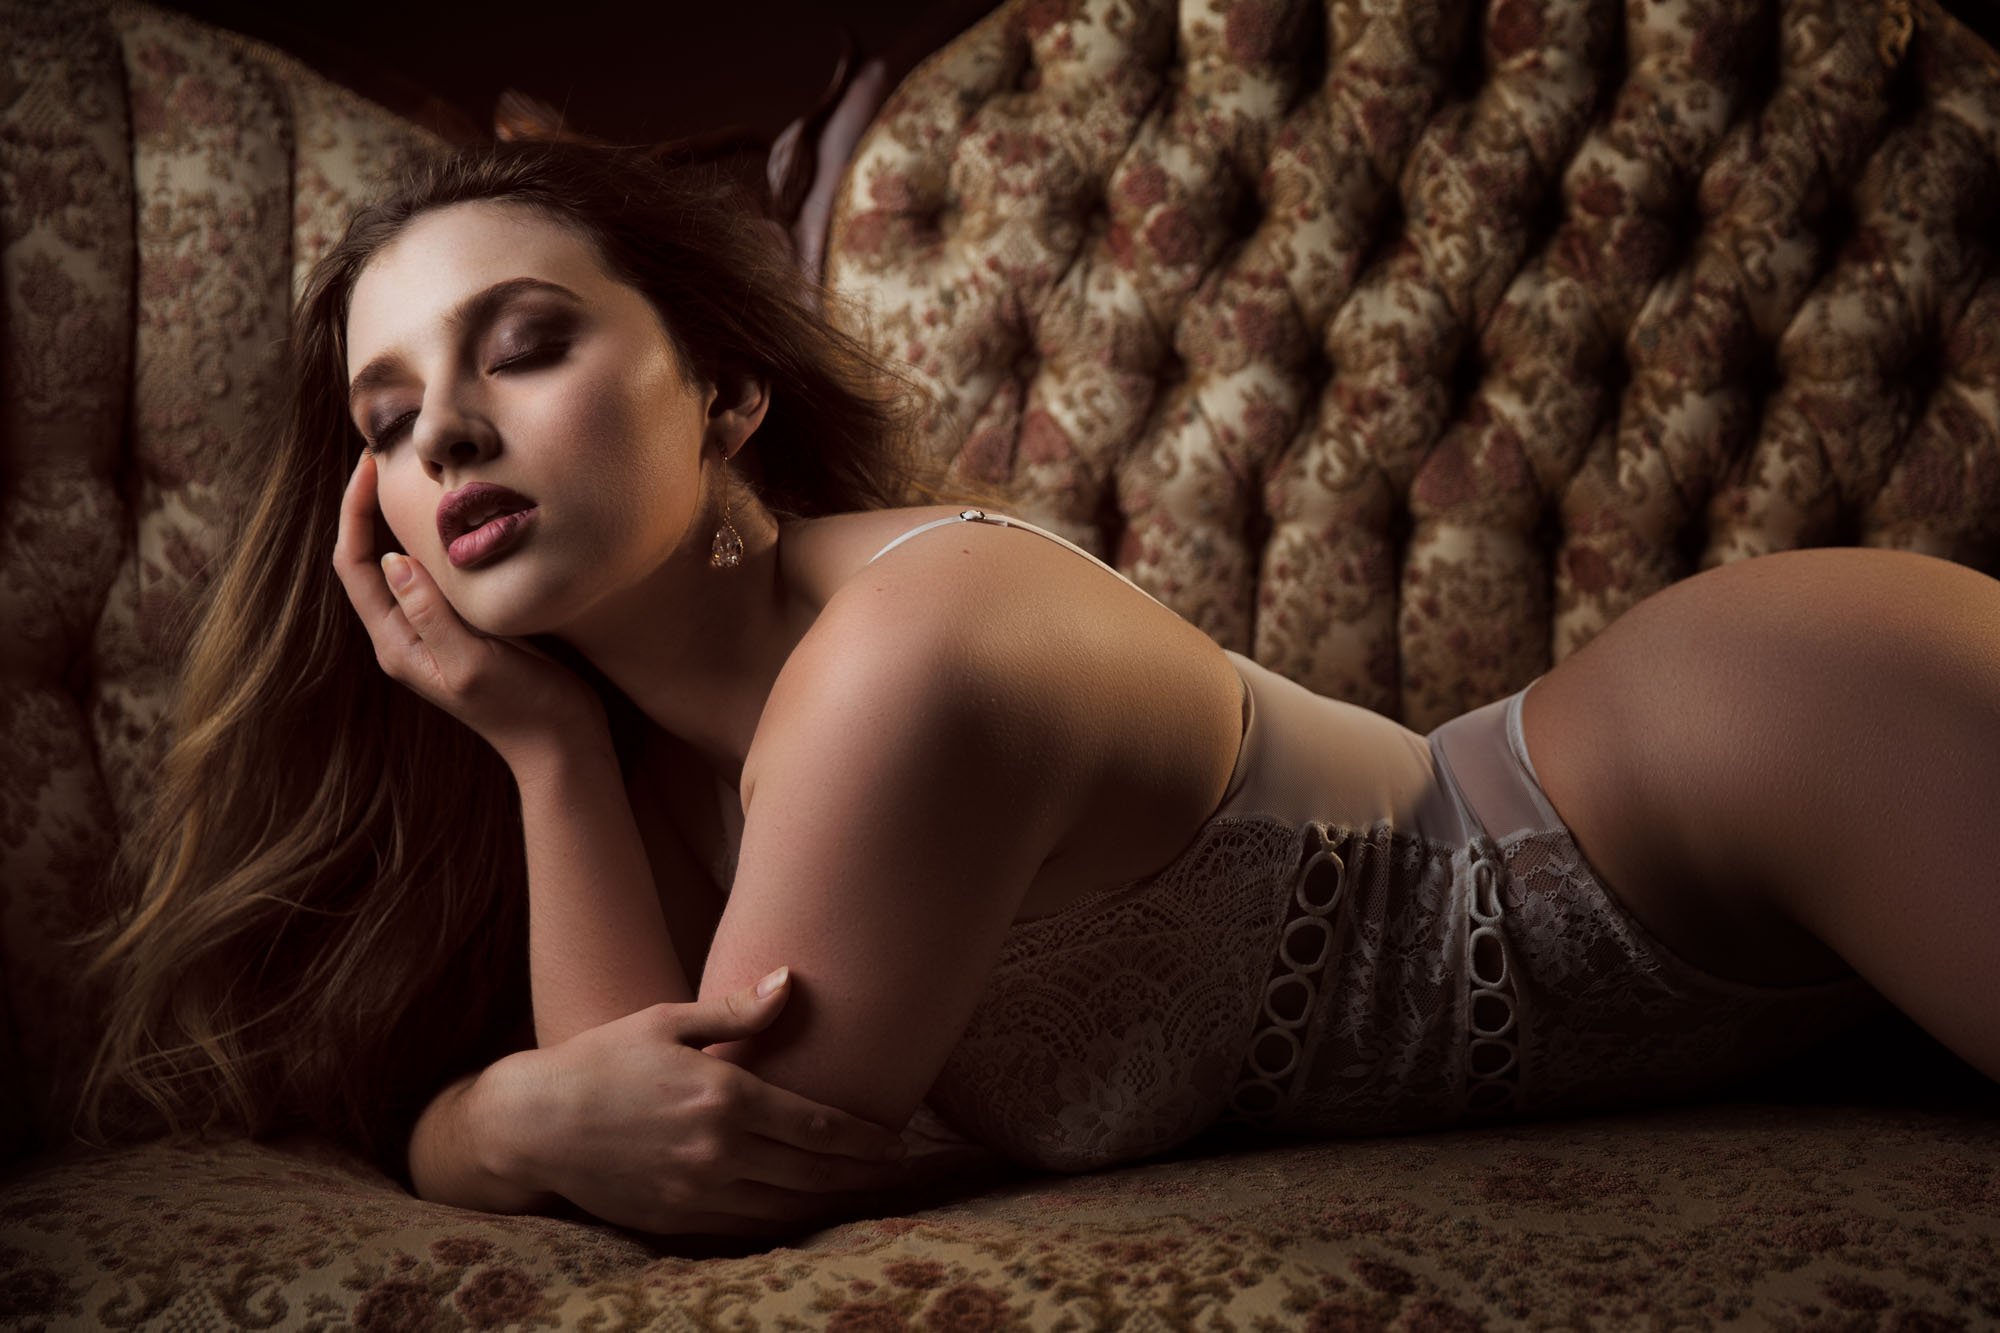
I’ll also raise my iso to correctly expose my client when working with natural light. If you plan to use window light for your boudoir photos, consider building your kit to include prime lenses. These fast lenses (usually f1.8 or faster) will allow you to keep your iso lower than pro level zoom lenses or kit lenses when working with natural light.
Related: Best lenses for boudoir photography
Focus Mode For Boudoir Photography

Focus modes are pretty straight forward for boudoir photography. Back when I photographed sessions on my DSLR I exclusively used spot af to focus wherever I wanted and then I’d recompose my shot.
Now that my main camera body is mirrorless, I’ll switch between eye af and spot af throughout the session. I use spot autofocus when I want to focus on anything other than an open eyeball. The eye af is really good when the eye is open, however with my Canon R5 I notice it still get’s confused when the eyes close or when the woman looks down. It also has a hard time if not enough of the eye is facing the camera. Thus I still lean on spot af mostly so I can focus exactly where I want.
My Eye AF Settings (Canon R5)
- Back button autofocus mapped into controls
- AF Operation: Servo AF
- AF Method: Eye AF
- Subject to Detect: People
- Eye Detection: Enable
- Continuous AF: Disable
Other Camera Settings I Use For Boudoir Photography
As you can see, once you learn how to shoot in manual mode, the rest of the camera settings you’ll need for boudoir photography are rather basic. That said, there are a few other other minor features I also find quite useful. Those settings include:
- Exposure Simulation (mirrorless only) – I enable exposure simulation whenever I’m working with natural light. This does as it says and simulates the exposure in real time in the EVF (viewfinder). When I create boudoir photos that are lit entirely with artificial lighting I’ll turn off exposure simulation. The reason I do this is because the viewfinder will often be totally black if the entire scene is lit artificially. Thus I’ll turn off the simulation so I can see what I’m doing so I can frame my shot.
- Highlight Alert – I always have this on. Highlight alert basically tells you if you’ve clipped your highlights (overexposed them). When enabled, the image preview will show blinking lights wherever you lost information. This is important to me because I try to get everything as perfect as I can in camera. Sometimes I let the highlights overexpose intentionally. Sometimes it’s hard to tell what’s really light and what’s clipped. Highlight alert will show you what part of the images has information and what part doesn’t.
- RAW / RAW – I capture every shot in the largest raw file possible to both cards. This protects me if I make a mistake with my exposure, as I’ll be able to correct it later in post if need be. Recording it to two cards protects me in case I have a card fail. Hasn’t happened yet thankfully but I’m a fan of redundancy.
Master The Art of Posing Women
In this guide I’ll show you how to pose the nude female form in a way that tastefully flatters her body type and creates emotion. This guide is intended for beginner and intermediate photographers and will teach you how to balance the proportions of any woman to make her look her best.
By first teaching you the fundamentals of posing, these principals will help you progress to a point where you can confidently pose any woman in an improvised fashion.