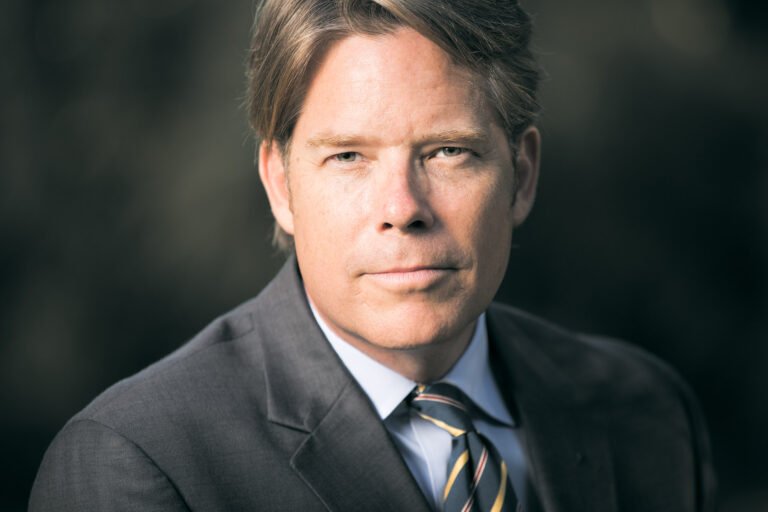
My name is Jason Guy and I am a Sonoma portrait photographer. Todays photo shoot featuring Miss B. is a case study I put together to give a behind the scenes look at how I create studio style portraits on location.
Studio style portraits are different from environmental portraits in that we will need an unobstructed working space with good light control to create this kind of look. All of my studio style portraits sessions happen on location (I come to you).
You can learn more about my studio style portrait space requirements here if you’re interested in this kind of photo shoot with me.
Studio Portraits at your Location By Sonoma Portrait Photographer Jason Guy
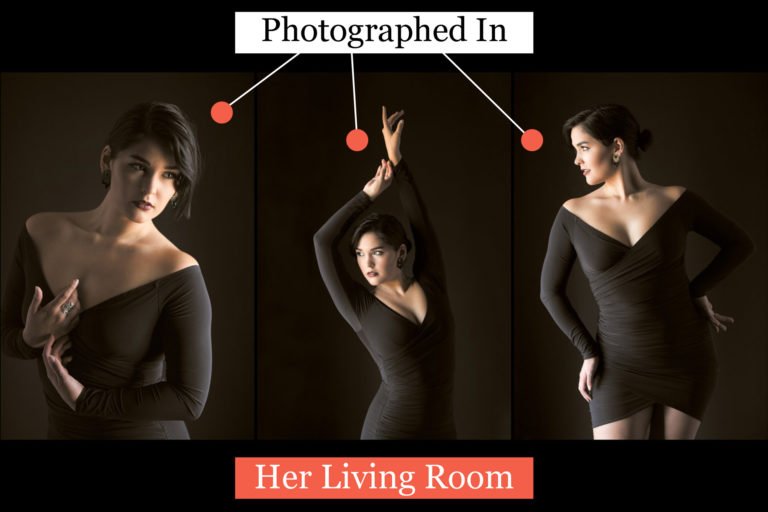
For this studio style portrait session we used Miss B’s living room. By moving her coffee table and some other furniture into the other room, we had an ideal, unobstructed working space with good light control to create any type of studio style portraits she wanted!

Miss B. primarily wanted a headshot for her online presence, but she also wanted some authors portraits of herself for a book she’s writing. She also just wanted some nice portraits of herself because she’d never had them professionally captured before.
Other than the above direction, Miss B. gave me complete creative control to do whatever I felt was best. My favorite kind of project!
To start things off, I decided we should start with a captivating headshot since this was a must have shot for her. In cases like this where I’m given carte blanch, I like to create multiple headshots with different looks so the best fit can be used for the right situation. Even if the person doesn’t want multiple headshots it gives them a few styles to choose from.
For example, headshots on a white background tend to work great for social profiles since the backgrounds of all these platforms tend to be white.
Headshots on black or grey can give a very unique look that can be very impactful for website bios, keynote speeches or anything else where you might what to make a striking first impression. Let’s take a look at how I captured Miss B’s headshots.
The 4 Strip Box Ring Light
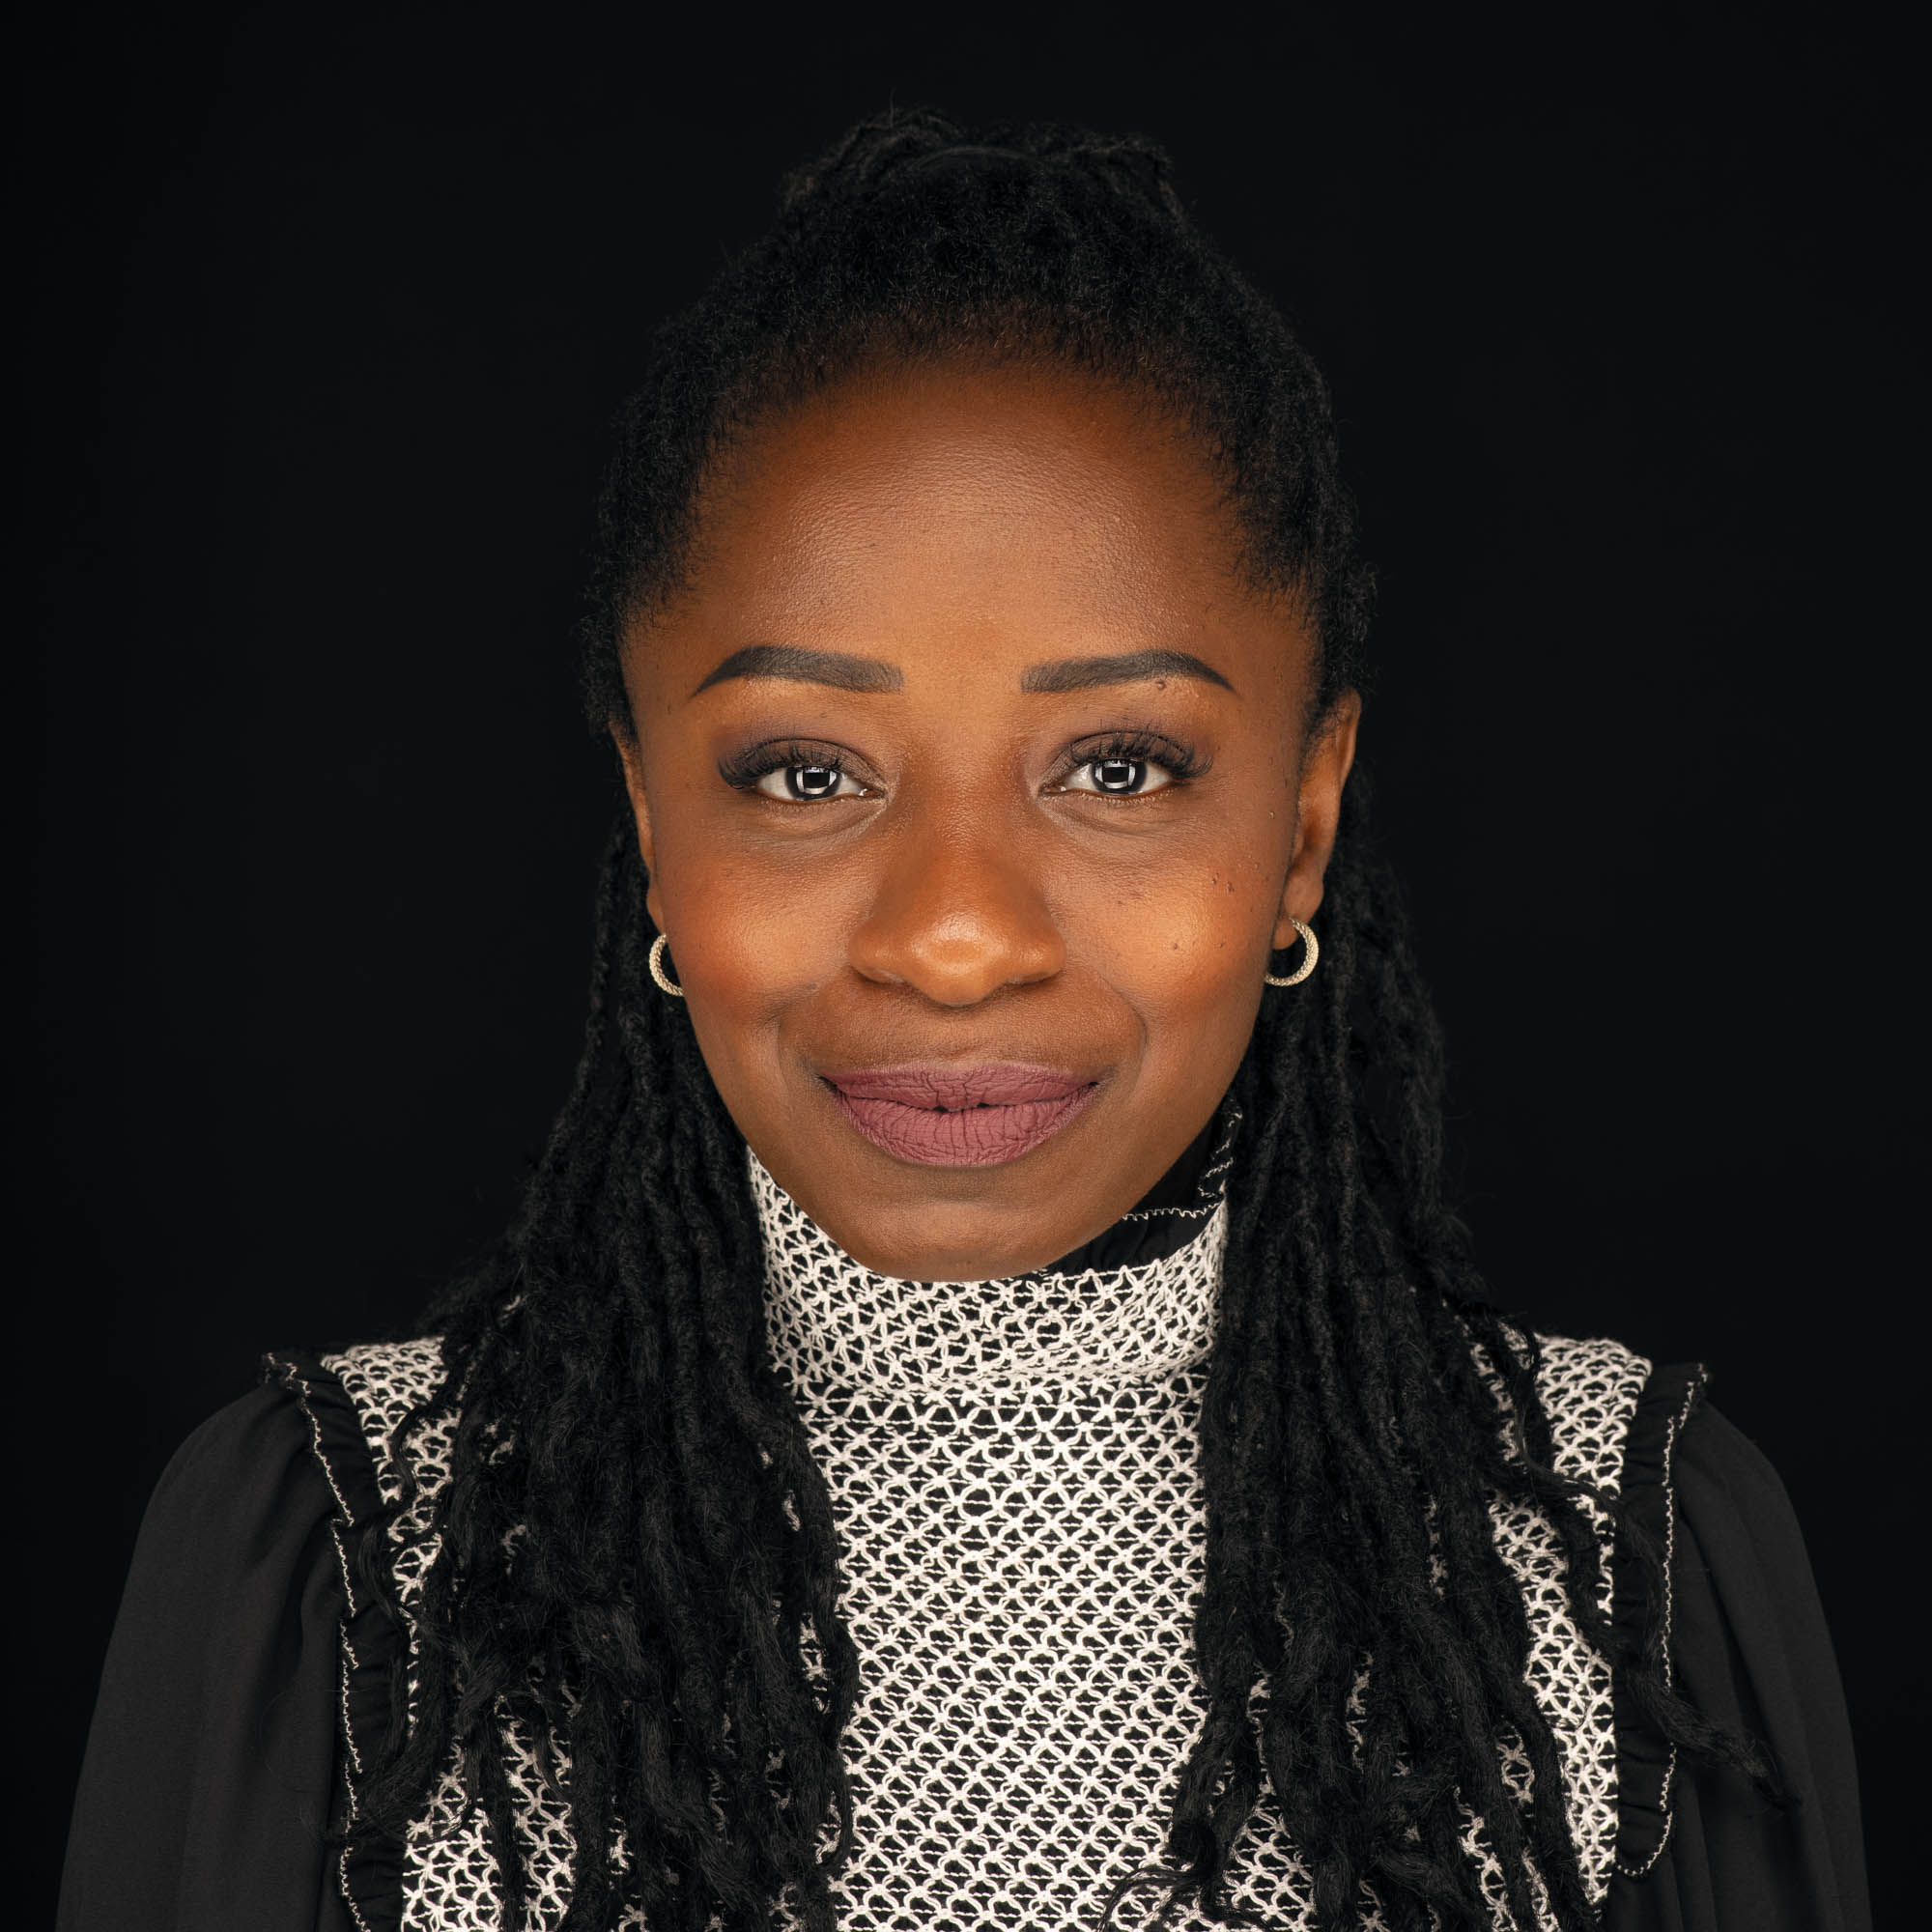
This headshot was lit with 4 studio strobes modified with strip boxes. The strip boxes were essentially arranged in a circular fashion to create a very high power ring light. Additionally, I set up a couple V-flats behind her to get more light to reflect back at her and keep her from falling into blackness.
The set up looked like this.

Clam Shell Lighting Headshot on White

This headshot was lit using a clam shell set up with a beauty dish as the key light. A second light with a strip box added a touch of fill to the shadows.
Two separate strip boxes were then used to light the background evenly and make it pure white. Lighting the background like this is important so the background of the headshot bleeds seamlessly into the background of white websites.

Classic Portraits on Grey
After I felt that we’d captured some good headshots, I thought we should create a few traditional portraits for Miss B that could be displayed in a multitude of ways.
In addition to headshots, I always think it’s a good idea to augment them with pulled back 3/4 or full length portraits to give the viewer some extra context. This extra context helps humanize you (especially online) to people who don’t know you yet.
I chose to do these 3/4 portraits on a grey background and keep them simple. I key lit them with a large octobox, filled the shadow side with a strip light and illuminated the background with a separate strobe.
Here is what the set up looked like.

Moody Portraits on Hand Painted Muslin
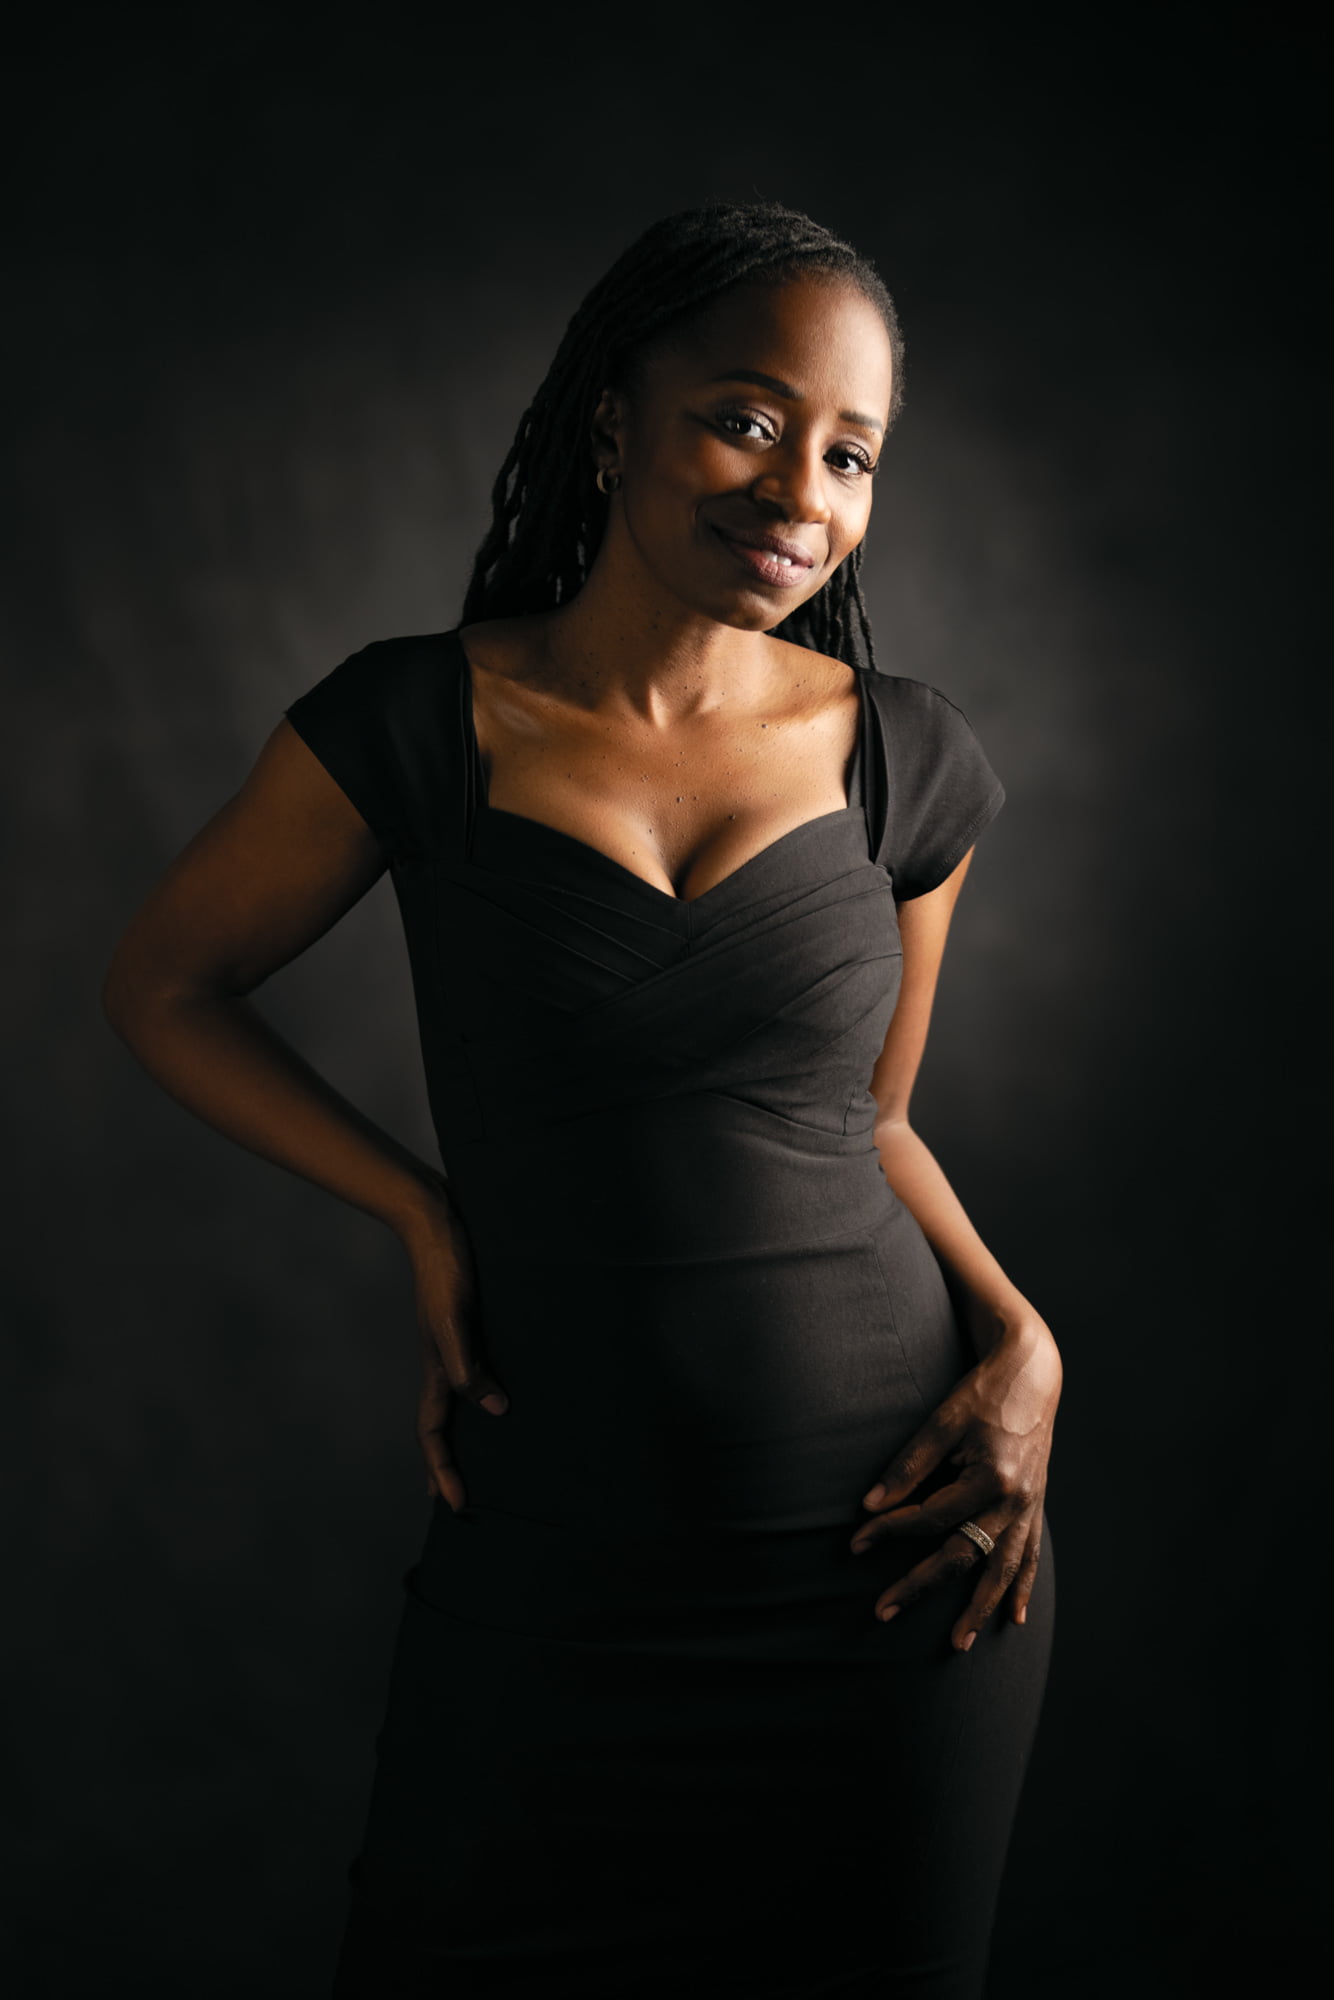
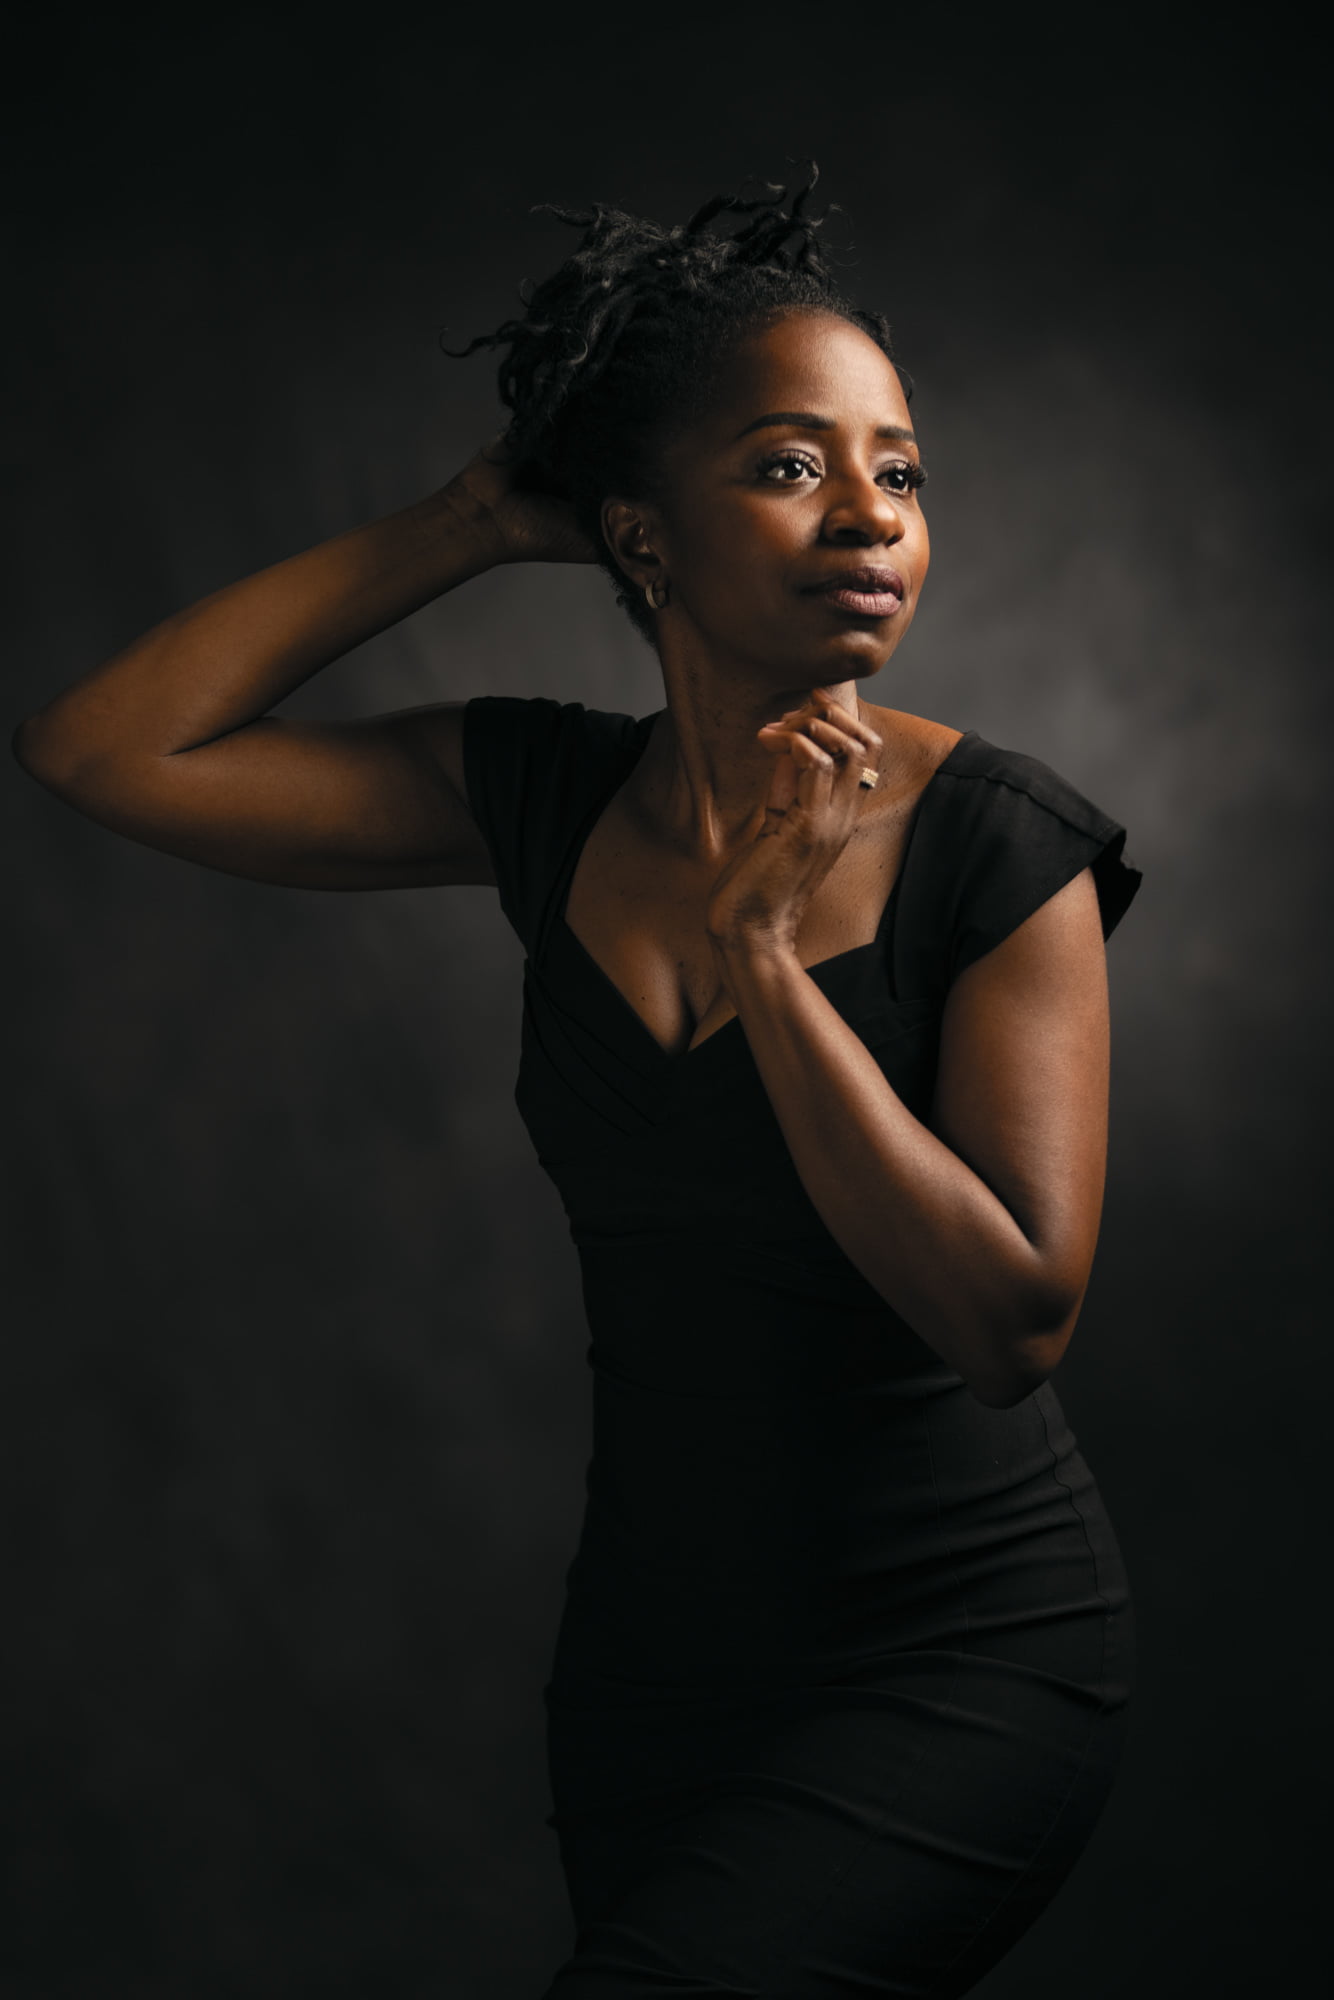

With all of the must have shots captured, I decided it was time to get more creative and capture something more dramatic for Miss B.
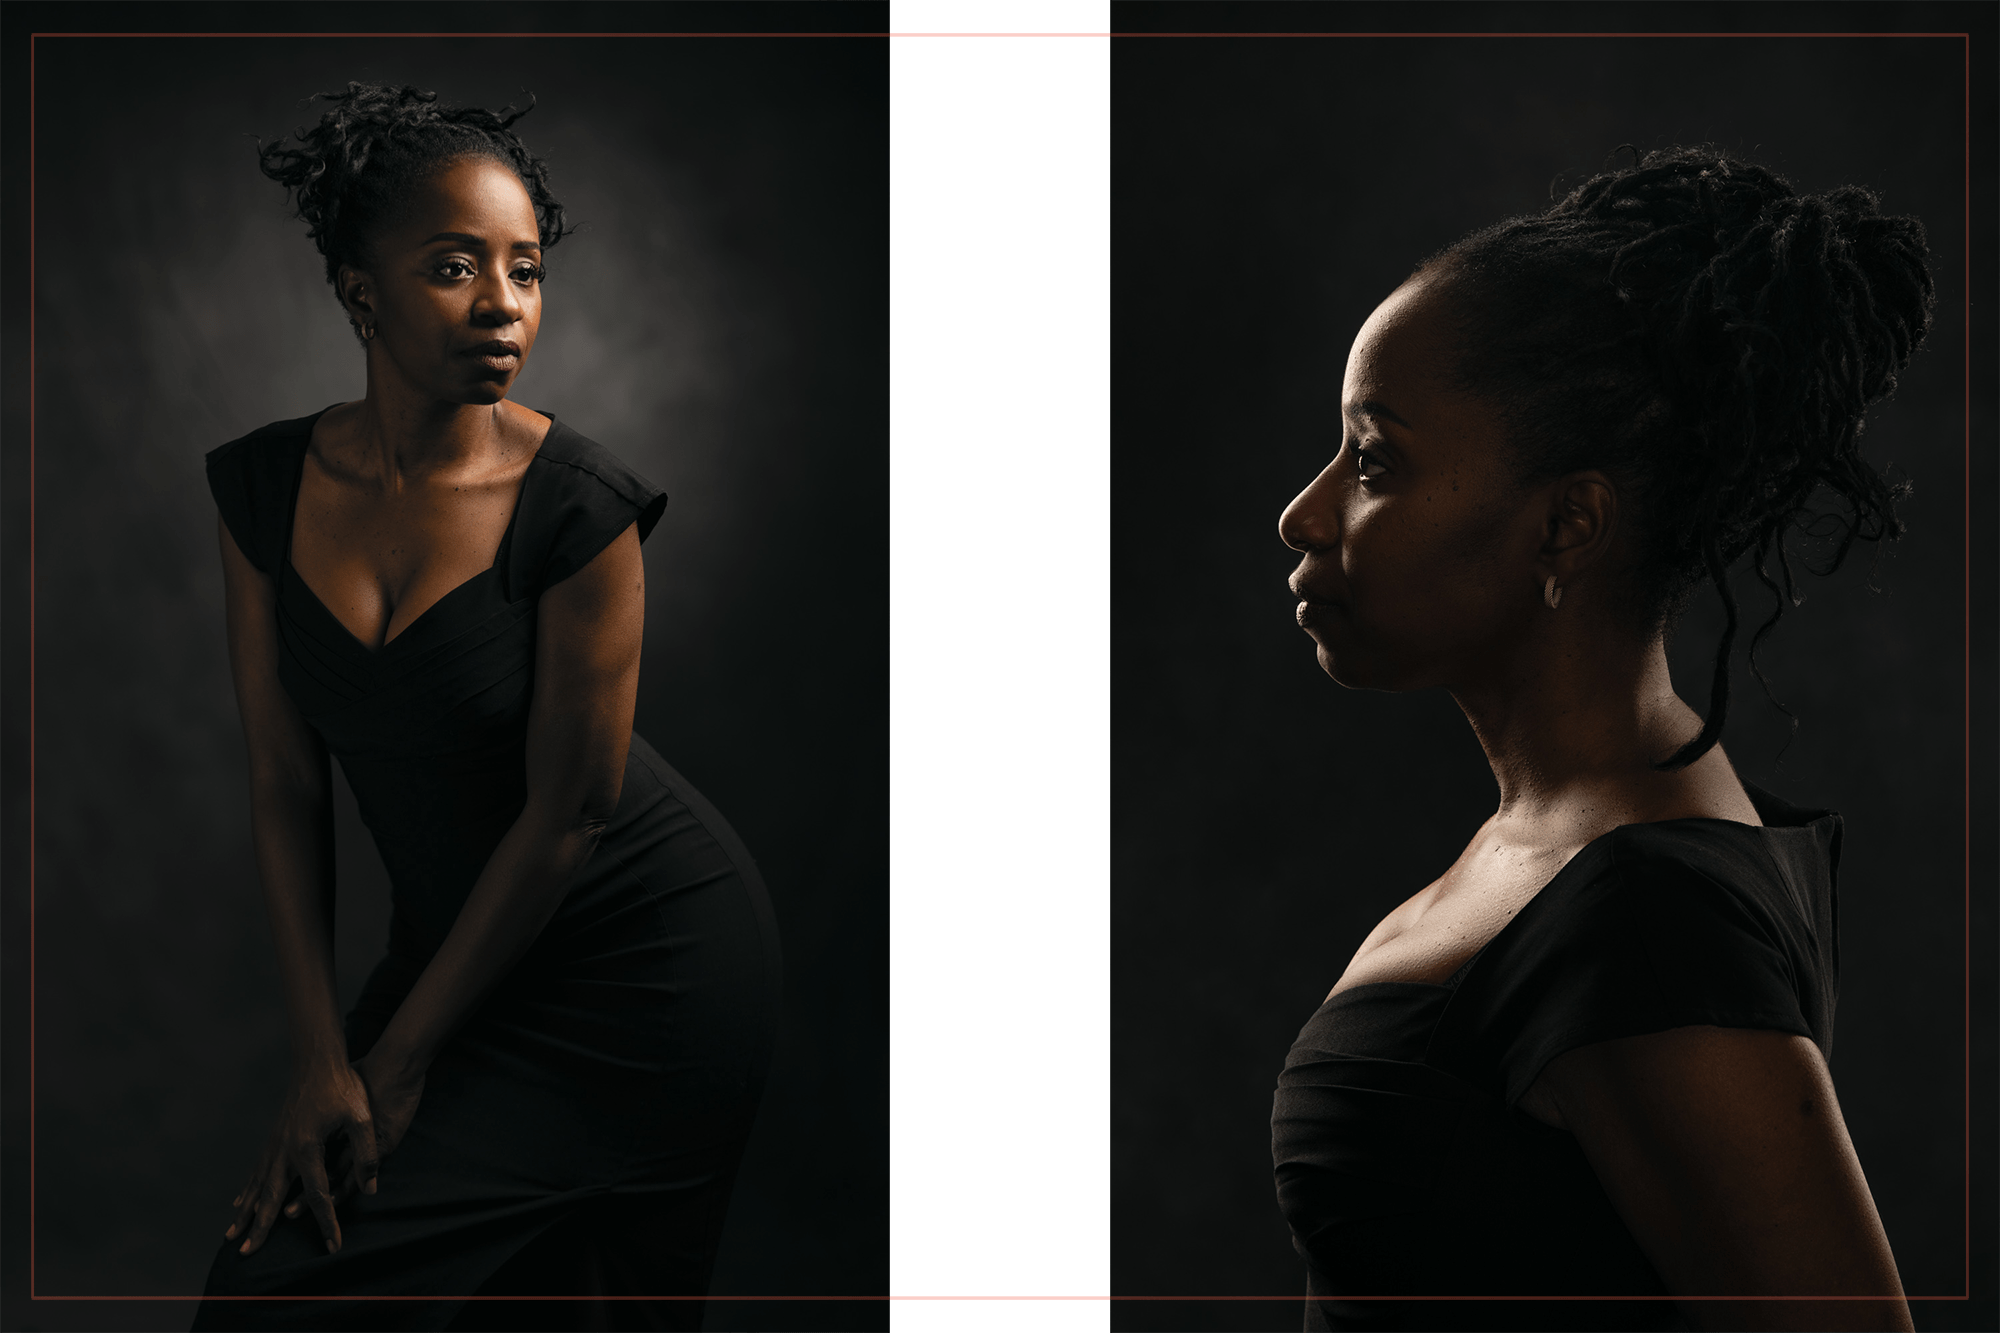
With her dark skin and soft features, I decided I was going to sculpt her with classical poses and traditional yet moody light. My goal was to create some striking portraits that would still look amazing 30 years from now.
Despite the very different look from the portraits captured on the grey background, the set up for this is actually very similar.
The differences between the two set ups were:
- I changed the background out for a hand painted muslin.
- I also contained the spot light on the background with a tighter grid.
- I adjusted the power of all the lights to match the dramatic feel I wanted.
The set up looked like this.

Rim Lit Profile Portrait
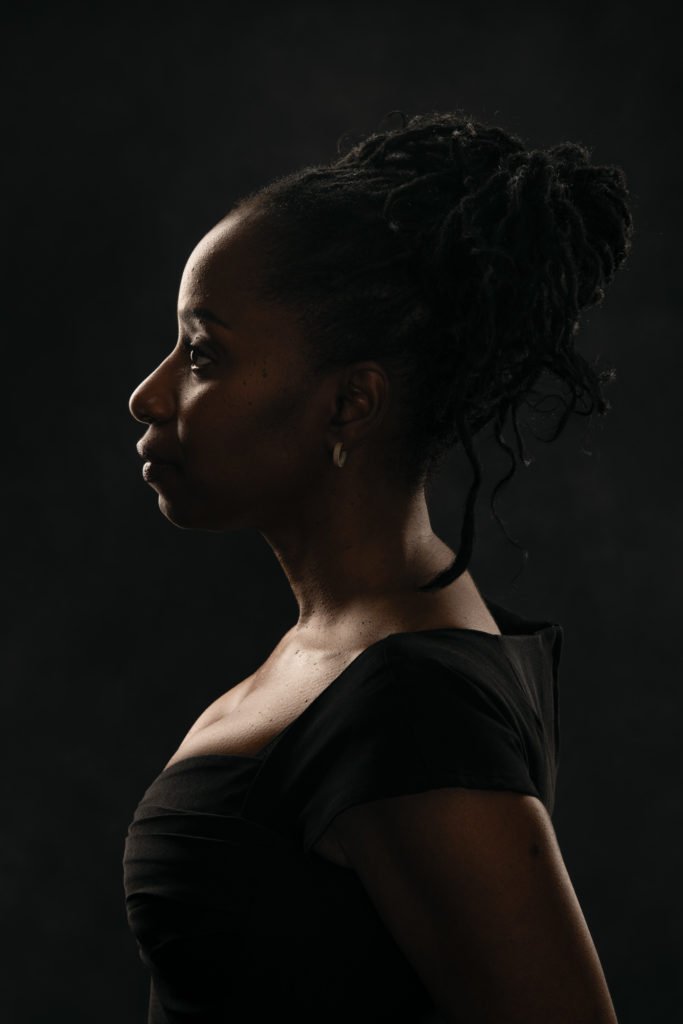
I really liked the way this low key look was working with her dark features and black dress. For her final portrait I wanted to create something ultra low key but still classically simple.
For this shot I used four lights. I used 3 strip lights to rim light her from slightly behind. Then I set up a large octobox right behind me to act as a general fill and make sure the shadows didn’t go totally black.
Because her living room was so large I decided to photograph this portrait at a very long focal length to give it a very compressed distortion. This zoom also allowed me to isolate the portrait as a bust which I think helps give it a timeless aesthetic.

Before & After Photo By Sonoma Portrait Photographer Jason Guy
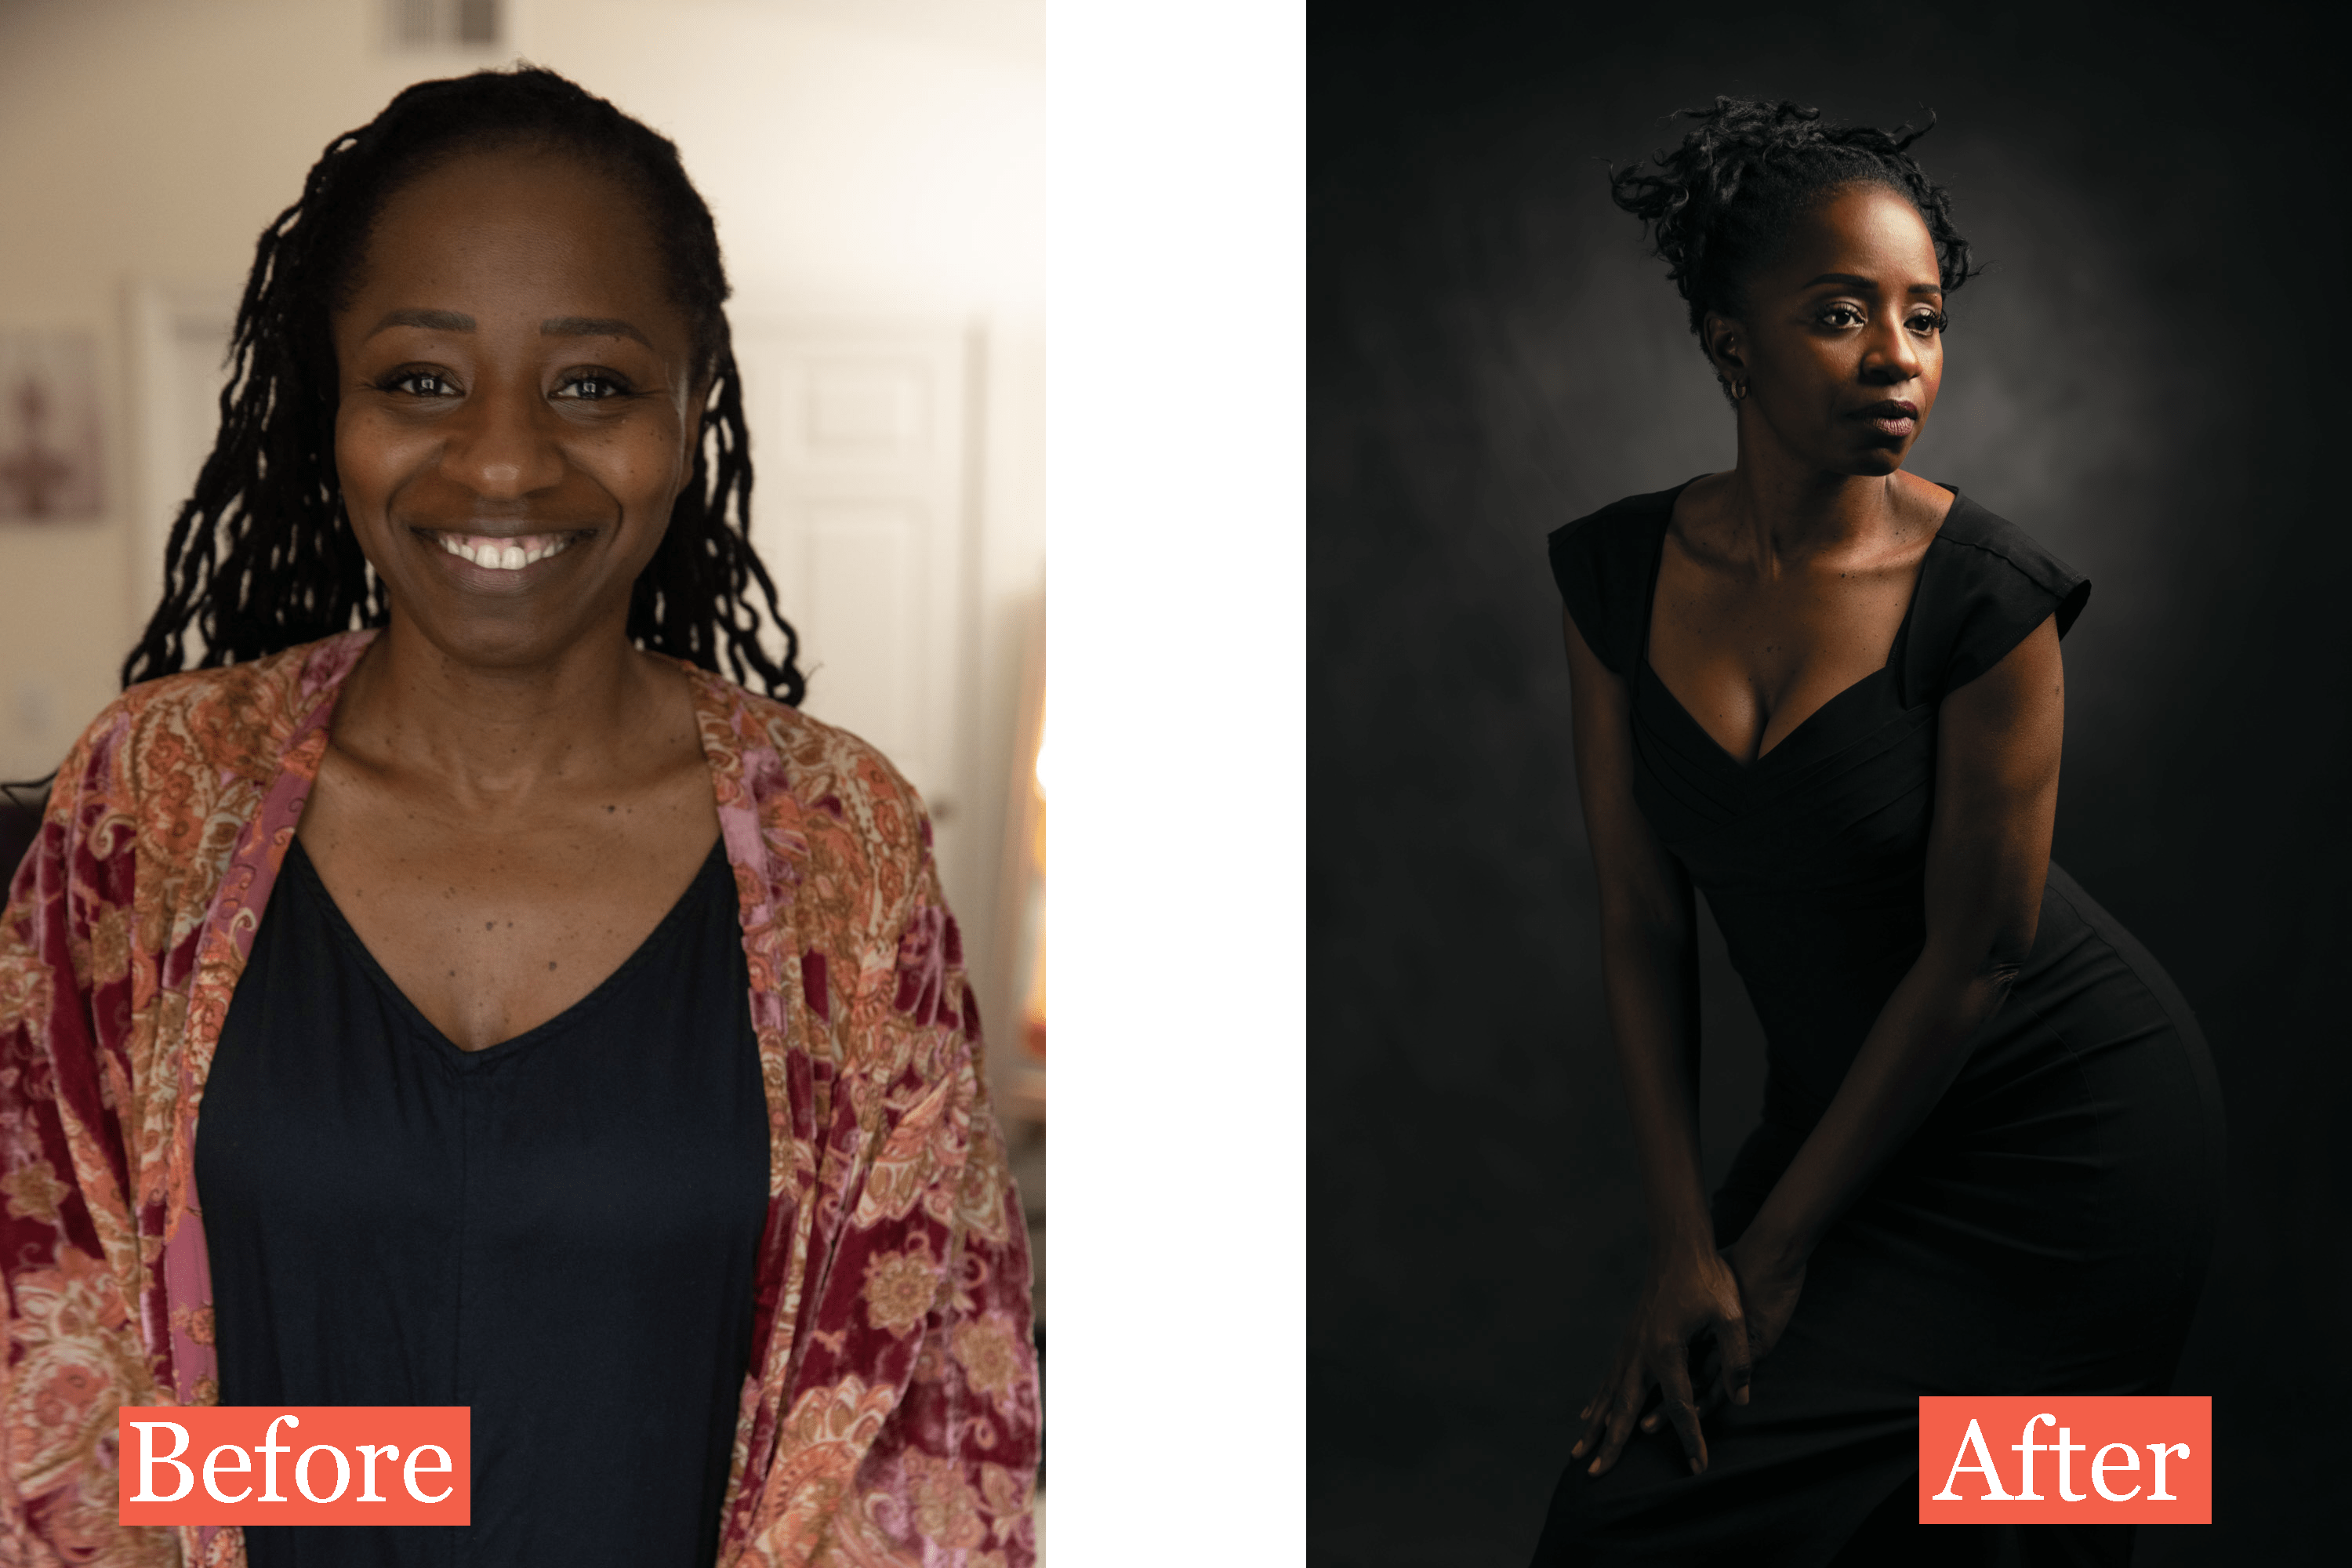
If you like the way this Sonoma portrait session featuring Miss B turned out please be sure to like and share this post. If you’d like to have portraits like this captured for yourself, or your loved ones, you can get in touch with me here and I’d love to discuss your intended session with you!

